Portrait photography can be both rewarding and challenging for beginners starting out with their cameras. While capturing a subject’s personality and essence may seem like a difficult task, with the right guidance and practice, anyone can create stunning portraits. In this article, KEH will share some tips and tricks for beginners to help improve on their portrait photography skills. Whether you’re aiming to capture professional headshots, family portraits, or candid moments, these tips will help you produce beautiful and memorable portraits.
What is Portrait Photography?
Portrait photography is the practice of capturing the essence of a subject (or subjects) within a photograph using lighting, posing, and composition. Though it sounds simple, shooting professional portraits takes practice and patience to capture images that are beautiful and tell a unique story about your subject and their personality.
Though it can be a great business endeavor, this type of photography takes a particular set of skills. Successful photographers understand the balance of knowing how to take a good portrait and being able to make your subject feel seen, heard, and accurately portrayed. In this article, we’ll go over some of the common types and share expert tips for everyone from beginners to professional photographers.
Types of Portrait Photography
Common types include:
- Traditional portrait photography, which generally includes capturing one subject either in front of a neutral backdrop or in an environment that is special to them. The main goal is to capture the spirit of that subject. They can include Senior or Graduation portraits, maternity portraits, and headshots, just to name a few.
- Wedding portrait photography is another modality that can be a great professional career for the right photographer. A wedding day is one of the most important times of someone’s life and many couples will pay a premium price for the right photographer to be able to naturally capture them on their big day.
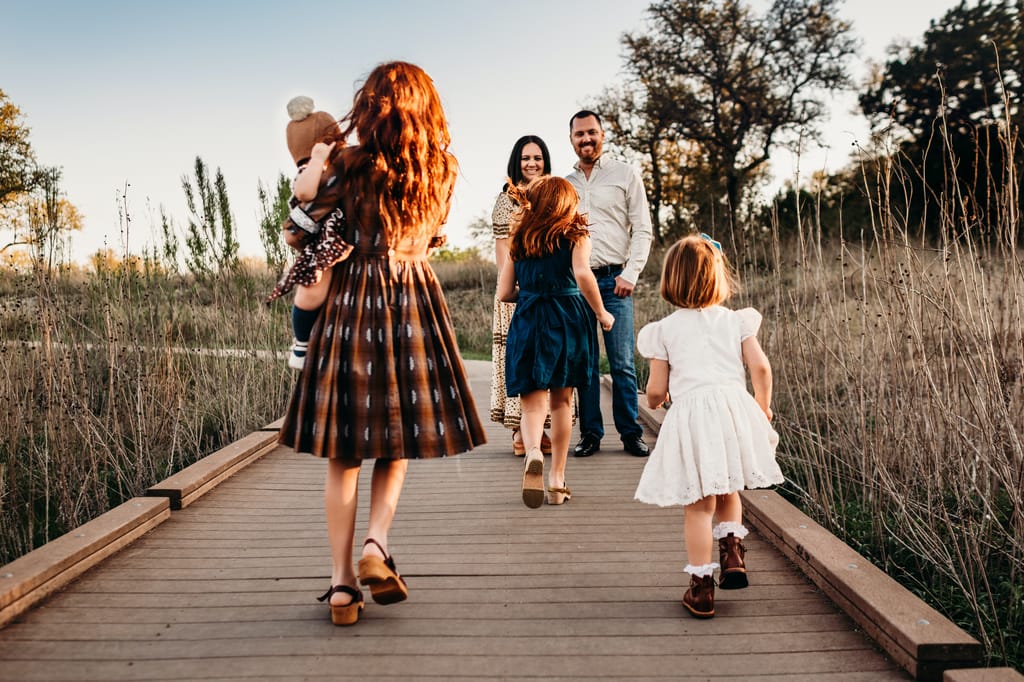
- Family portrait photography is a great way to break into this field. Many families will have photographs taken annually for things like holiday cards or calendars and it’s great ongoing work.
- Newborn photography is another method that people hold in high esteem. It comes with a particular set of demands, and many newborn photographers will specialize in it as their main niche.
- Pet portrait photography has become increasingly popular with more pet owners than ever looking to celebrate their fur babies with professional photos. Photographers who are also animal lovers may have a natural talent for this, which takes persistence!
Now for the top tips for making sure you capture the perfect portrait.
1. Choose the Right Equipment
The first step is essential: choose the right gear for you. There are so many choices for cameras and lenses for beginners that it can seem impossible to narrow down your options. Here are a few suggestions for choosing the best portrait camera and lens.
For portrait photography, there is no “wrong” camera type, so it’s important to choose the one that works best for you. You have plenty of options for mirrorless and DSLR bodies that would make great portrait cameras. Here are some additional considerations when choosing:
- Consider whether you prefer a full-frame vs cropped sensor. The key difference between full frame and crop sensor is how much can fit into the frame. A cropped sensor will capture a tighter field of view than the full frame.
- Understand your minimum megapixel count. You likely won’t need a camera with more than 30 megapixels to still have sharp images when images are printed. It’s also important to keep in mind that the more megapixels your camera has, the larger your file sizes will be.
- Determine the size of the camera you want for how you’ll be using it. Mirrorless bodies are generally lighter than DSLR bodies, while DSLR cameras are more durable.
- Research key features you might need like high continuous shooting rates, ability to take video, low-light capability, and autofocus technology.
Your second piece of equipment should be a high-quality portrait lens. A good lens is key to sharp and detailed portrait photos. Your main decision will be whether to choose a prime or a zoom lens. Prime lenses have a fixed focal length while zoom lenses have variable focal lengths.
Many photographers will shoot with a prime lens over a zoom lens because of the wider aperture capabilities that make prime lenses great for low light situations and for creating a blurred background (shallow depth of field). On the other hand, if you will be shooting other types of photography, a zoom lens offers more versatility.
Next, you need to determine the focal length you want. When selecting a portrait lens, it helps to consider how much room you have to shoot and how tightly framed you want the shot to be; this allows you to pick the most flattering focal length. Facial features are less exaggerated the further away your camera is from your subject. It might not seem like a person’s nose, eyes, and ears sit at different distances from your lens but they do and these small differences in distance result in size differences when flattened onto a 2D image. These relative size differences can be noticeable. For a more flattering portrait than a selfie try to stay at least 4 or 5 feet away from your subject when space permits.
There are plenty of options when it comes to lens focal lengths, but some of the best for portraits are: 135mm, 100mm, and 85mm for classical portraiture. For environmental portraiture try a 35mm, or 50mm. If you use an APS-C sensor size camera then look for approximately 1.5 times these focal lengths to get an equivalent, and if you’re a Micro Four Thirds system user look for 2x these recommendations for an equivalent.
If you asked a group of photographers which lens would be their go-to, you’d likely receive different answers across the board, but something between 85mm and 35mm is safe for a great starter lens and provides versatility for different shooting conditions, especially if you want to try other forms of photography as well.
Other equipment you may consider purchasing would be indoor studio lights and backdrops and a tripod for increased stability and control when shooting.
2. Find the Perfect Location or Background
Finding the best location or backdrop for a portrait session involves a number of factors including whether to shoot inside or outdoors, lighting and weather, the overall mood or aesthetic you’re aiming for, and any distracting elements you may find in a public place.
If you’re shooting in a studio for traditional portraits, choose a neutral backdrop. When shooting in a public place, aim to find a backdrop that isn’t overly cluttered or distracting.
For outdoor portraits, try to scout a location prior so you know what to expect. If you can’t visit an outdoor location before, use a tool like Google Earth Pro to help you visualize what a spot will look like at an exact time of day. And always be sure to run the location by your client before the photoshoot!
3. Control the Lighting
The word photography literally translates to “drawing or painting with light” and mastering the use of light is key to understanding how to take a good portrait. Tips for controlling lighting situations include:
- Using natural light and aiming to shoot during best lighting times whenever possible. Many photographers consider golden hour (hour after sunrise or before sunset) to be the best times of day for lighting.
- Learning to use artificial light sources, such as strobes or continuous lights when shooting portraits in darker scenarios.
- Experimenting with light filling tools like reflectors or diffusers for setting light onto your subject.
- Using available light whenever possible, including natural light from windows or skylights.
- Positioning your subject in a way where the light is indirectly illuminating them to avoid shadows or squinting.
4. Choose the Right Camera Settings
Another notable aspect of this type of photography is choosing the best settings both to complement your location and capture the essence of your subject in a pleasing way.
Consider the following:
- Use a low ISO to limit noise or graininess in your image, especially when you have plenty of light like shooting outdoors.
- Select a wide aperture for a shallow depth of field and a blurred background. Many prime lenses have apertures as wide as 1.2 to create that creamy bokeh behind your subject. Below or at f/4 is a good baseline aperture for portraits to provide enough depth of field to have your subject in sharp focus.
- Adjust the shutter speed to control motion and light. Keep in mind whether your subject will be stationary or moving. If your subject is moving, choose a higher shutter speed than if they were stationary to avoid unwanted motion blur.
5. Direct the Subject
One component that is often overlooked is the ability to adequately pose and direct your subject. Most of your subjects aren’t professional models, so being able to pose them in a way that feels natural and comfortable to them is important. Additionally, be sure to:
- Communicate clearly and kindly with the subject, and be patient when giving directions.
- Get to know your subject a bit beforehand and understand what poses feel natural and comfortable to them then have prompts for those poses on hand or memorized.
- Give clear directions for posing and expressions. Keep posing prompts short and simple so you don’t confuse or overwhelm your subject.
- Capture candid moments as well as posed shots. Begin with candid shots to get the subject warmed up before you start directing posed shots. Try having your subject walk or spin to get them comfortable in front of the camera at the start of the session.
6. Pay Attention to Composition
Composition plays a big role in how your photos will look and feel. While it can be great to experiment with different types of composition, you can look to a few “rules” to help guide your photography techniques.
Practice the Rule of Thirds
One important principle is the rule of thirds, which directs photographers to divide their shot into thirds (horizontally and vertically) to position your subject in a manner that creates depth and balance to your image. Once you’ve positioned your subject, move around and experiment with different angles for different shots.
Focus on the Eyes
Pay attention to where your subject’s eyes are and work to focus on them whenever possible. Eyes will naturally draw the viewer into a photograph, so shoot at eye level and direct your subject to give direct eye contact. When shooting with shallow depth of field, if one of your subject’s eyes is closer to the camera, you generally want to focus on that eye; many mirrorless cameras try to do this automatically but it’s good to know how to do it manually as well.
7. Edit with Consideration
Once your photos are backed up and culled, it’s time to edit! Most photographers will use editing software like Lightroom or Photoshop to enhance colors, adjust exposure and contrast, bring up shadows, remove distractions, or crop an image.
Editing should enhance the overall beauty of the image, not change the look completely! It’s especially important not to overdo the editing for this type of photography.
8. Practice Patience
Patience is an integral part of the process. Rather than rushing through a session clicking your shutter 1,000 times without any thought, slow down and consider composition, background, movement, posing, etc. to capture images with more feeling.
Be patient with your subject and always make room for fun! Remember that your clients will always appreciate quality over quantity, so put careful consideration into every shot you take.
And don’t forget to take every opportunity you can to practice and hone your skills. Ask family and friends if you can take their photos, practice with pets, or try a self portrait.
9. Use Props and Accessories
Consider adding props to your sessions to add personality and uniqueness to the images. Some easy props to keep on hand are hats, blankets, or a picnic basket. Those who specialize in Senior or Graduation photos may suggest the subject bring a prop that’s important to them like a basketball, ballet shoes, a favorite book, etc. It’s important to choose items that add to the aesthetic of the photo rather than detract from the subject.
10. Learn from Others
Networking and connecting with other photographers you admire is another great way to gain inspiration and ideas for your own photography. Consider joining local groups or online forums to learn from others and hone your skills and techniques.
Check out free educational content or tutorials online to help you get to know your gear, understand the basics, improve posing guidance, and gather tips and tricks from experts in the field.
11. Get to Know Your Subject
One important factor of portrait photography that sets it apart from other forms of photography like wildlife, landscape, real estate, etc. is the fact that you will be photographing a unique person. Tips for getting to know your subject prior to their shoot include:
- Connect via phone or a video call. Video calls are great because you’re able to see each other before the shoot.
- Ask them about their personality, interests, and preferences and weave that into your session with things like posing prompts, how you direct them, and location suggestions.
- Allow your subject to get to know you as well so they feel comfortable with you behind the camera.
12. Use Different Focal Lengths
As mentioned above, experimenting with different lens focal lengths will help you understand how to create new compositions with focal lengths. To capture more of the natural landscape or scene, consider using a wide-angle lens like a 16mm, 24mm, or 35mm. For a more compressed look, consider a lens with a longer focal length like a 50mm, 85mm, and 135 mm. We’ll dive a bit deeper into some common portrait focal lengths and their pros and cons:
- 35mm lenses will likely be the widest lens you want to use, unless you’re taking family portraits or photographing larger groups. For single subjects, you may have to get closer to your subject and you may notice a bit more distortion in facial features and lose a bit more depth of field than with a longer focal length. Still, with a 35mm you’ll be able to photograph your subject and capture more of the setting.
- 50mm lenses will produce the most lifelike representation of your subject and create a really great depth of field in the background. For professional photographers, the 50mm lens reigns supreme in traditional portrait photography.
- 85mm lenses will create a more compressed look and also allow you to be further from your subject, which can make them a bit more comfortable during their shoot. Because of the longer focal length on this one, it may be difficult to shoot in certain locations like a small studio.
Another helpful tip is to try before you buy! You can rent both camera bodies and lenses from different online or local retailers and experiment with different focal lengths before you purchase. And consider buying used gear in great condition to save without sacrificing the quality of your equipment.
13. Pay Attention to Details
Keen attention to detail is an essential component to becoming a successful portrait photographer. Some details to always keep in mind are to be mindful of hair, clothing, and other askew details that can impact the image. Details like having the subject smooth their hair or take a step away from a distracting background image can greatly impact the photo.
Alway take test shots to check for any distracting elements or issues. As mentioned above, it’s always good to try and see your location prior to the shoot, but if you’re unable to do so, you can also arrive early and take test shots before your subject arrives.
14. Shoot in RAW Format
Another important tip is to shoot in RAW format vs JPEG. This allows you to have more control over the editing of the image in post processing. RAW files make it easier to adjust contrast, exposure, color, and clarity without losing any quality in the image. RAW files tend to take up a larger amount of storage space, so invest in plenty of external hard drives or shoot in RAW compressed if your camera has that option.
15. Experiment with Black and White
Change a color portrait to black and white to create a more timeless and classic look and feel. Black and white images also emphasize light, contrast, and texture differently than the same image in color.
Pro tip: Take your favorite photos, make copies of the images when editing and change the second version to a black and white to create a different feel!
16. Use a Reflector for Fill Light
Fill light can be direct sunlight than you reflect onto a subject’s face using a reflector or a DIY alternative. For brighter fill light, you can also use a camera’s built-in flash or an external flash.
Use a reflector to bounce light onto the subject and fill in any shadows. Position the reflector to accentuate the subject and the setting.
17. Shoot in Burst Mode
Many photographers shoot in burst mode or continuous shooting for better portraits. This allows them to capture a series of images in quick succession, which increases the likelihood of getting the best shots.
Burst mode also makes it easy to create GIFs or double exposure images layered together, which are always a fun way to get creative with your photography!
Start Taking Stunning Portraits Today!
Portrait photography is more than just snapping a photo of your subject. Capturing stunning portraits takes the right equipment, understanding and using the best camera settings, good communication skills, creativity and experimentation, patience and dedication, and always striving to improve. And don’t forget to have fun!
To start developing your skills, purchase your digital camera gear and start experimenting.

