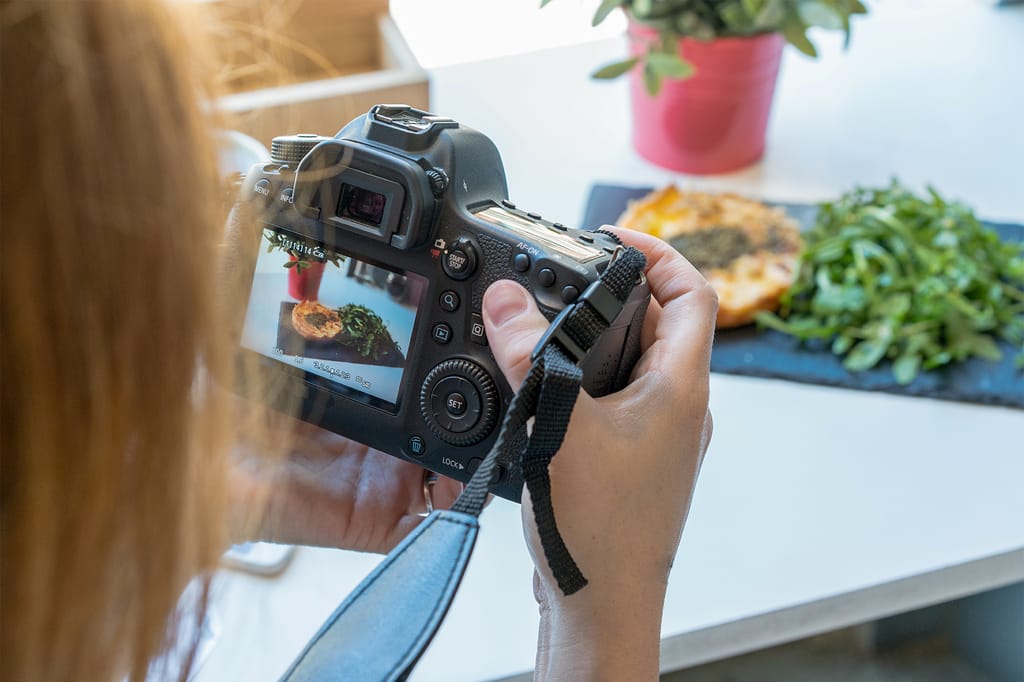
For food photographers, the camera always eats first. Whether you’re a recipe blogger, restaurant critic, or just a foodie who loves documenting their meals, the quality of a photo can make or break the perception of a dish. In this article, we’ll discuss the increasing popularity of food photography, and give you all our tips, tricks, and gear recommendations to help you capture mouthwatering photos.
What is Food Photography?
Food photography goes beyond taking pictures of food. This genre of photography plays a pivotal role in enticing and engaging audiences. It’s not just about documenting what’s on the plate — it’s about conveying the entire dining experience through a single image. It’s about evoking emotions, creating cravings, and making viewers feel as if they can taste the food just by looking at it.
In today’s digitally-driven world, where gastronomy has found a massive platform in social media, food photography is the bridge that connects food lovers with the dishes they crave. It’s the captivating image of a perfectly plated meal that compels us to click, share, and, ultimately, visit a restaurant or try a recipe at home.
Types of Food Photography
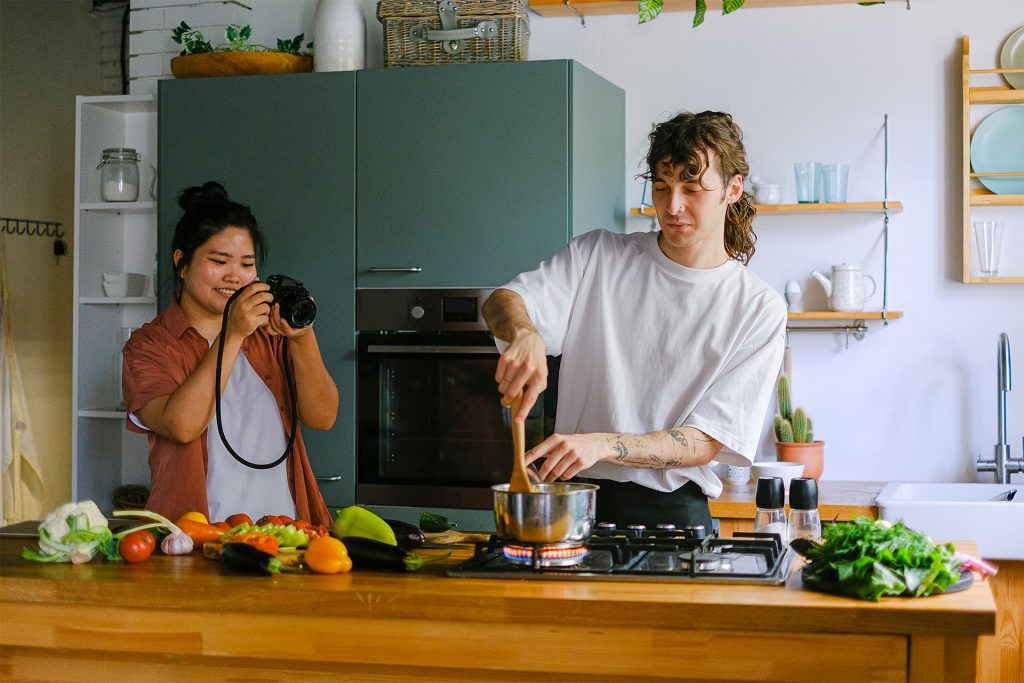
Food photography is a multifaceted field that encompasses various sub-genres, each with its unique characteristics and purposes. A few examples include:
Social media
Platforms like Instagram and Pinterest thrive on visually appealing content. Food enthusiasts and influencers use social media as a canvas for their culinary creations. Food images entice viewers to explore recipes, discover new eateries, and share their own gastronomic experiences.
Food blogging
The rise of food bloggers and influencers has created a niche where stunning food photographs are essential. Blogs are brimming with beautifully shot dishes and recipes.
Product photography
For the food manufacturing industry, product photography is essential for showcasing individual food items or packaged products to be used across a wide variety of mediums and platforms.
Culinary marketing
Restaurants, cafes, and meal delivery services all rely on enticing food photographs to attract customers. Sometimes it’s hard to visualize menu items solely through the text, so having high-quality photos on their website, or platforms like Open Table.
Cookbooks and food magazines
Food photography is a staple in cookbooks and culinary magazines, where every image is carefully crafted to inspire readers.
Documentary
Documentary-style food photography is an educational exploration of food culture worldwide. It serves as a gateway to understanding the nuances of culinary traditions, practices, and regional diversity.
The world of food photography is as diverse as the culinary world itself, and each type has its unique charm. As a beginner, you need to consider your interests and goals when selecting the type of food photography to explore. Here are some additional factors to consider:
Popularity
Some types, such as product and culinary marketing photography, are more widespread and in high demand. They cater to a broad audience and are often professionally oriented.
Beginner-friendly
Food blogging and recipe photography are highly accessible for beginners. These types encourage creativity, personal style, and hands-on learning, making them ideal starting points.
Professional vs. fun
While product and advertising photography are typically considered a professional medium, food blogging and social media platforms offer room for fun and personal expression. Documentary food photography straddles the line between educational exploration and personal passion.
By understanding the nuances of each type, you can align your photography journey with your interests and aspirations. Whether you want to capture the essence of a beloved recipe, promote restaurants, or explore diverse food cultures, we’ll equip you with the skills and knowledge to excel in your chosen niche within the world of food photography.
10 Food Photography Tips
Wondering how to take mouth-watering images that will make your audience’s stomach rumble? Mastering the art of food photography requires more than just a smartphone and a plate of your favorite meal — you have to consider the nuances of light, shadow, composition techniques, and more. Here are 10 of our favorite food photography tips to help you learn how to take food photos:
1. Get the right camera for food photography
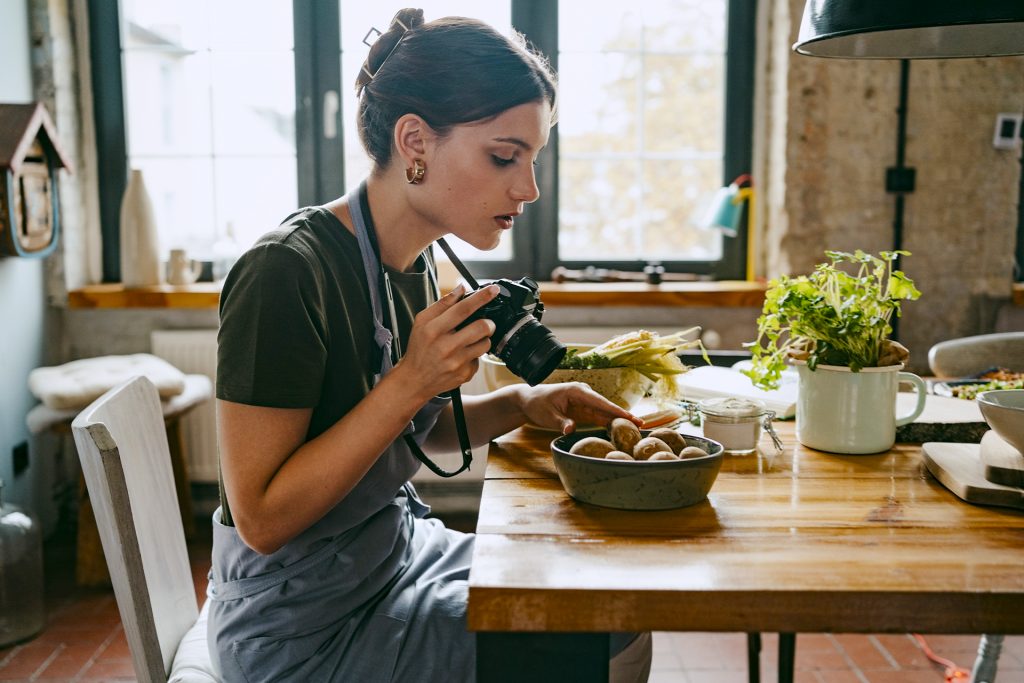
Selecting the right camera for food photography is essential for achieving stunning results. The camera you choose can significantly impact the quality of your food images. Purchasing a dedicated mirrorless or DSLR camera would provide you with the flexibility and control needed to capture intricate details, and vibrant colors with precise focus. These cameras offer various shooting modes, manual controls, and interchangeable lenses, making them ideal tools for food photographers.
When considering a camera for food photography, there are a few factors to keep in mind. First, consider the type of camera. Full-frame DSLRs and mirrorless cameras often deliver exceptional image quality due to their larger sensors. These cameras excel in low-light conditions, ensuring that your food photographs appear well-lit and appetizing. Products like the Nikon D750 and the Sony Alpha a7 III are popular choices among professional food photographers.
Additionally, think about the camera’s capabilities. Look for a camera with a high-resolution sensor, which allows you to capture fine details and textures in your culinary creations. A camera with excellent low-light performance, a range of ISO settings, and the ability to shoot in RAW format will also provide you with more creative control.
While dedicated cameras offer superior capabilities, using a smartphone for food photography can also yield impressive results. The latest smartphones feature advanced camera technology, including multiple lenses and powerful image processing. They can be convenient for spontaneous food shots and social media sharing. However, for professional-quality food photography with the utmost control over lighting, focus, and composition, investing in a dedicated camera is recommended.
2. Find the right lens and additional equipment
Achieving professional-quality food photography often requires a range of additional equipment to enhance your creative control and capture every delicious detail. Beyond the camera, lenses and supplementary tools can make a significant difference in the outcome of your food images.
Here, we explore the essential equipment to consider:
Lenses
When it comes to lenses for food photography, prime lenses are particularly popular for their ability to create stunning images with a creamy background blur. A prime lens with a wide aperture, such as a 50mm f/1.8 or 35mm f/1.4, is a favorite choice among food photographers.
These types of lenses offer the advantage of shallow depth-of-field to blur the background while keeping the food subject sharp and in focus. The best quality lenses also tend to render the out-of-focus areas smoothly, what’s known as good bokeh.
For capturing intricate details in close-up shots, a macro lens can be invaluable. It allows you to get exceptionally close to the food, revealing textures and patterns that are otherwise imperceptible to the naked eye. Lenses with a longer focal length like 105mm will give you more working distance to the plate (useful for lighting) and a narrower slice of the background. High-end food photography specialists often utilize the unique capabilities of Tilt-Shift lenses (also called Perspective Control lenses), some of which are also designed for macro.
Here are some good lens options for food photography in the most popular camera systems:
For Canon DSLR and SLR food photographers:
- Best budget option: Canon EF 50mm f/1.8 STM Lens
- Best value for pros: Canon EF 100mm f/2.8 L Macro IS USM
For Nikon DSLR and SLR food photography:
- Best budget option: Nikon AF-S 50mm f/1.8G
- Best value for pros: Nikon AF-S Micro-NIKKOR 105mm f/2.8G IF-ED VR Lens
- Best for experienced pros: Nikon PC Micro 85mm f/2.8
For Sony mirrorless cameras:
- Best budget option: Sony FE 50mm f/1.8
- Best for pros: Sony FE 90mm f/2.8 Macro G OSS
For Fujifilm X mirrorless cameras:
- Best budget option: Fujifilm XF 35mm f/2
- Best for pros: Fujifilm XF 60mm f/2.4 R Macro
Tripods
Tripods play a crucial role in achieving sharp, well-composed images, especially in low-light situations where longer exposure times are necessary. They ensure your camera remains steady, reducing the risk of blurriness caused by hand-held shots. Additionally, tripods allow you to carefully arrange the composition, fine-tuning the framing of your culinary creations You may find a sturdier, heavier tripod more stable for home or studio use while lighter travel tripod or even tabletop tripods can be convenient options on location.
Additional gear
Other indispensable gear for food photography includes lighting equipment. Depending on your specific needs, you may require external flashes or continuous lighting sources like softboxes or ring lights. These tools help control and enhance the lighting conditions, ensuring your food appears irresistibly appetizing in every shot.
3. Style your food for photographs
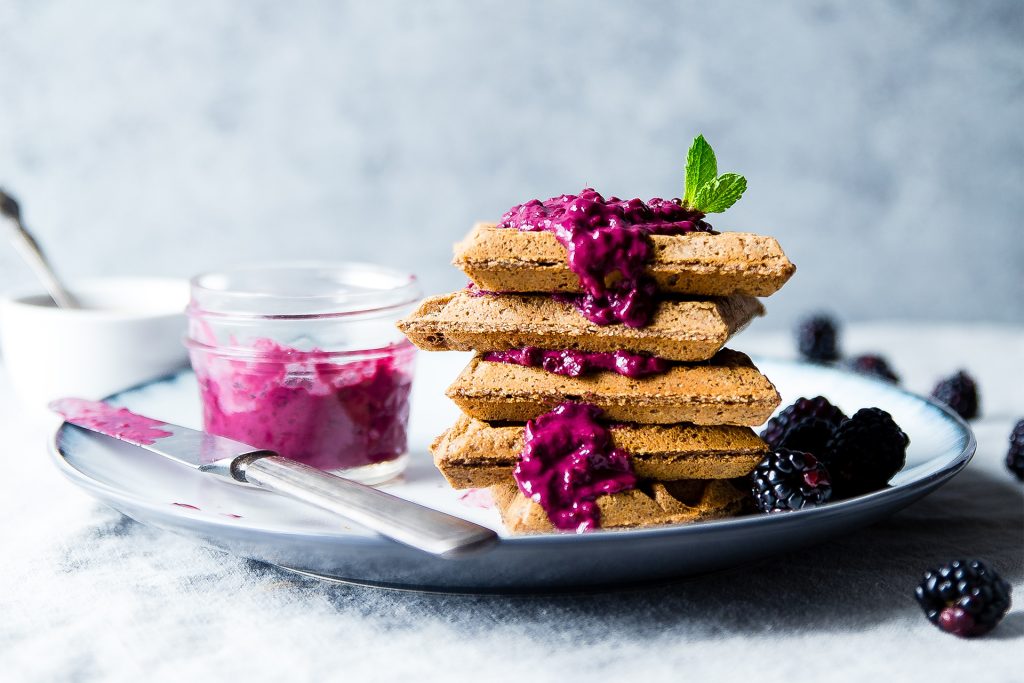
Don’t forget to incorporate food styling into your process. Putting some thought into how you plate and present your dishes goes a long way. Don’t just plop the food on a plate — take some time to select the right garnishes and carefully arrange the meal so it looks intentional and aesthetically pleasing.
The choice of background, props, cutlery, and tableware also plays a crucial role in defining the mood and story of your food photograph. For example, a rustic wooden table may enhance the warmth and earthiness of a homemade soup, while a sleek, modern backdrop could be better suited for showcasing a contemporary dish.
4. Use the right lighting to enhance the food
In photography, good lighting can completely transform a shot. Different lighting includes:
Natural light
Don’t be afraid to use natural light — it can create enchanting results for food photography. Whether you’re working with soft, diffused light from a window or direct sunlight in an outdoor setting, natural light highlights food’s colors and textures while minimizing harsh shadows, resulting in a flattering and inviting presentation.
Soft lighting
Soft lighting diffuses harsh contrasts and shadows, making your subject appear more enticing and appetizing. The absence of harsh highlights allows for greater detail and depth to be captured in your photographs. This type of lighting is ideal for highlighting the delicate qualities of dishes like pastries, salads, and desserts.
Light from the side
Side lighting is a technique that introduces depth and texture to your food images. It creates captivating highlights and shadows that accentuate the contours and details of your dishes. Side lighting can be especially effective for photographing dishes with intricate patterns or ingredients that benefit from the interplay of light and shadow, such as grilled meats or textured bread.
Whether you’re using artificial or natural lighting, the key is to understand the effect of light on your subject and use it to your advantage. Additionally, try using reflectors, diffusers, or supplementary lighting equipment to fine-tune the lighting conditions and achieve your desired visual outcome. This is particularly useful if you’re shooting inside a dimly lit restaurant or bar.
5. Understand photography composition and framing techniques
The way you compose and frame your food photographs can make a significant difference in their impact and storytelling. Consider applying these useful techniques when shooting your images:
The rule of thirds
The rule of thirds is a fundamental composition principle that divides your frame into a grid of nine equal parts with two horizontal and two vertical lines. Placing your main subject or key elements along these lines or at their intersections can create a balanced and visually appealing composition.
Leading lines
Leading lines are visual pathways that guide the viewer’s eye through the image. In food photography, you can use elements like utensils, table edges, or even the arrangement of ingredients to create lines that lead toward the main subject. This technique adds depth and a sense of movement to your food photographs.
6. Customize your camera settings
By adjusting parameters such as aperture, shutter speed, ISO, and white balance, you can finesse the lighting and focus to create images that truly bring your dishes to life. Let’s explore the camera settings and how they relate to the art of food photography.
Aperture:
The aperture controls how much light comes through your lens. Lenses have an internal diaphragm that’s adjustable and represented by units like 1.4, 2, 2.8, 4, 5.6, 8, 11, 16, 22, 32, etc.. Lower numbers mean a larger opening in the diaphragm thus more light coming through the lens, higher numbers mean a smaller opening is set, so less light. When you shop for lenses you’ll always see the largest aperture option in the lens name.
Aperture also affects “depth-of-field” (DOF). Think of DOF as a range of distances extending in front of and behind the distance you focus your lens. If you have your lens set to a lower f-stop number like f/1.4 you’ll get a noticeably “shallower depth of field” than if you set the same shot up using a much higher f-number like f/11 or f/16.
Shutter Speed:
Shutter speed determines how long your camera’s sensor is exposed to light. For still subjects like plated dishes, you can use a slower shutter speed to allow more light to enter the sensor. However, when shooting food with movement, such as pouring sauce or steam rising from a dish, a faster shutter speed can freeze the action, preserving the moment with precision.
ISO:
ISO measures the sensitivity of your camera’s sensor to light. A lower ISO, like 100 or 200, produces clean, noise-free images, making it suitable for well-lit setups. In low-light conditions, you may need to increase the ISO but be cautious not to push it too high, as this can introduce noise. For food photography, strive to maintain a balance between an ISO that ensures image quality and one that provides enough light to capture your subject.
White Balance:
White balance controls the overall color temperature of your images. It ensures that the colors of your food are accurate and true to life. Depending on the lighting conditions, you can select the appropriate white balance preset (e.g., daylight, tungsten, or cloudy) or manually adjust it to achieve the desired color balance.
7. Pay attention to your camera angles
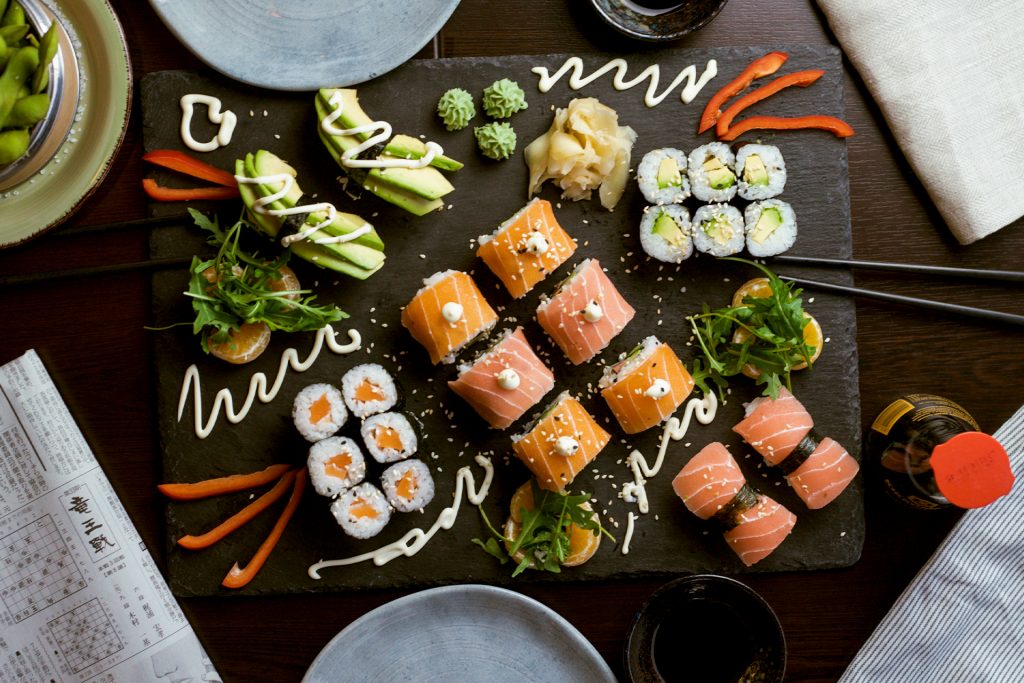
Shooting from the right angle can help highlight the essential elements of your culinary creations. For example, shooting top-down (or flat lay) offers a bird’s-eye view of the food, showcasing the arrangement and details of the ingredients. This angle works well for beautifully plated dishes, charcuterie boards, and breakfast spreads. By shooting from directly above, you can emphasize symmetry, patterns, and the overall presentation of the meal.
Alternatively, shooting at eye level brings the viewer to the same perspective as the food, creating an intimate and engaging connection. This angle is particularly effective for dishes with layers, like burgers or sandwiches, as it allows you to highlight the ingredients and capture their delicious textures.
8. Keep the intended use of the shots in mind
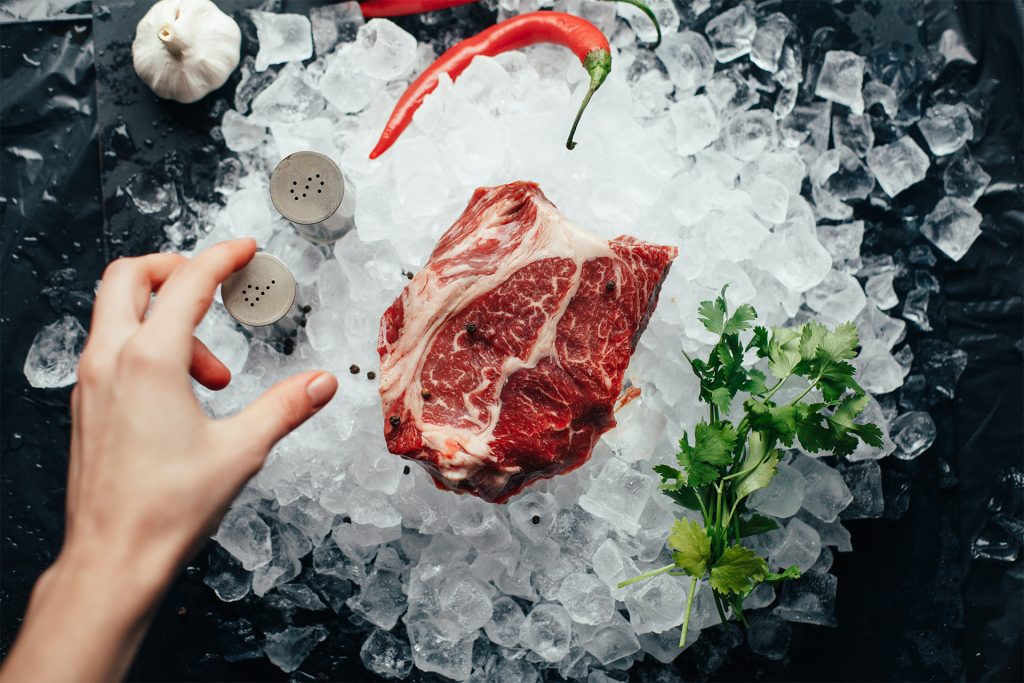
The purpose of your images should play a crucial role in determining how you frame and style your shots. Consider where your photos will be used—whether it’s for a restaurant menu, a food blog, or a social media post— and tailor your photography accordingly.
For example, if you’re photographing dishes for a restaurant’s menu, the shots should focus on the presentation and detail of the food, ensuring they accurately represent what diners can expect. On the other hand, for a food blog, storytelling shots that capture the cooking process or the ambiance of the kitchen can be equally important.
9. Use post-production editing
Post-production editing is the final touch that can elevate your food photographs to a professional level. While capturing an image is the first step, editing allows you to refine and enhance the shot, ensuring it meets your artistic vision and the intended use of the image.
In post-production, you can adjust various elements, such as exposure, color balance, and contrast. You can also remove imperfections and blemishes, sharpen details, and fine-tune the overall aesthetics of the image. Whether you use photo editing software like Adobe Lightroom or mobile apps like Snapseed, the key is to apply edits thoughtfully to maintain the natural beauty and appeal of the food.
10. Have fun and be creative
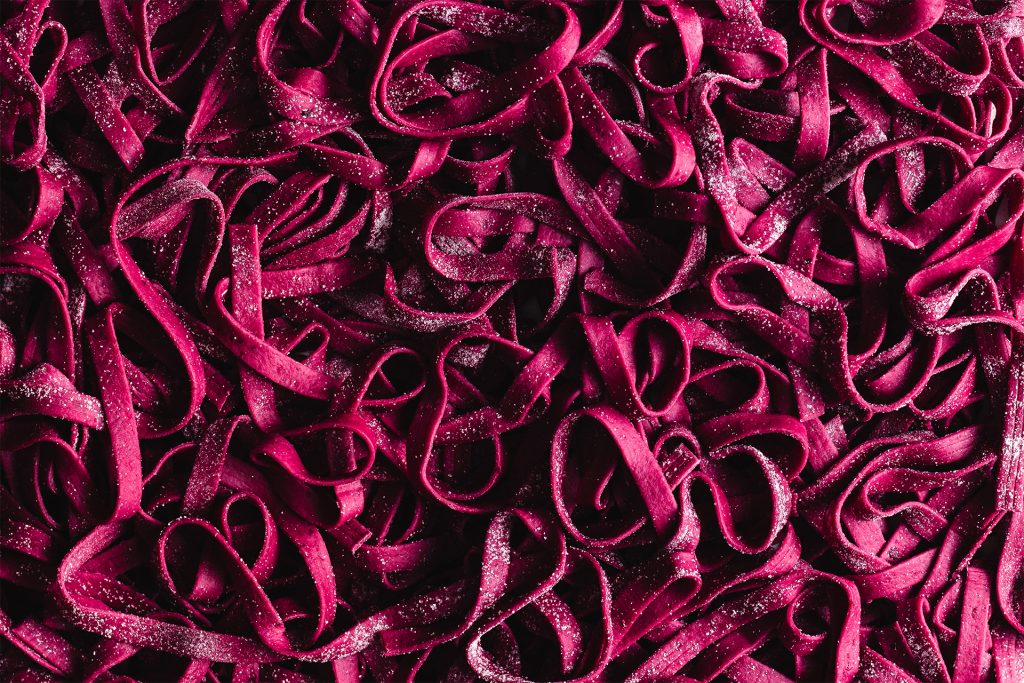
Creativity in photography knows no bounds, and food is meant to be enjoyed. With that in mind, don’t be afraid to think outside the box and infuse your personality into your photographs. Food photography offers an endless canvas for expressing your artistic vision, and by embracing your creativity, you can produce images that not only tantalize the taste buds but also inspire and captivate your viewers.
Get Started as a Food Photographer
Ready to venture into food photography? Whether you want to make a career out of photographing food or are simply looking for a way to take your personal recipe photos to the next level — take these tips with a pinch of salt and remember that the best food photographs not only showcase the flavors and textures of the cuisine but also convey the love and dedication that go into every dish. So, grab your camera, adorn your dishes, and let your creativity shine through your lens. With practice and passion, your food photography will not only make your audience’s stomach rumble but also leave them craving for more.


