Underwater photography offers a rare and captivating perspective beneath the surface of oceans, lakes, and other bodies of water. It’s a rewarding challenge for many photographers because of the training needed to be able to safely spend time under water, the technical gear needed to be able to take photos underwater, and the practice it takes to perfect the craft.
Whether you’re an adventure seeker, a photographer looking for your next challenge, or simply fascinated by marine life, capturing stunning photographs beneath the water can be an exhilarating experience. In this guide, we’ll dive into the world of underwater photography including tips, equipment recommendations, the best settings, and safety advice to help you embark on this journey.
Our list of the top tips includes:
- Safety comes first
- Get the right equipment
- Understand underwater lighting
- Learn composition techniques
- Be mindful of water visibility
- Tinker with camera settings
- Use manual mode or aperture priority
- Study and work with marine life
- Learn about post-production editing
- Practice with your equipment
- Push yourself by experimenting
What is underwater photography?
Underwater photography is the practice of capturing images or videos while submerged in water. It involves using specialized equipment and techniques to document the fascinating underwater world including marine life, coral reefs, shipwrecks, and other incredible sights beneath the surface. This type of photography provides a unique glimpse into marine environments not accessible to many.
Different Types
Within the already niche field of underwater photography are a few specific types of photography you can choose to specialize in or experiment with.
- Macro Photography focuses on capturing intricate details of small subjects such as colorful coral, tiny fish, or other small sea creatures with a macro lens.
- Wide-Angle Photography allows photographers to showcase the incredible scale of underwater landscapes using wide-angle lenses.
- Marine Life Photography involves photographing marine creatures in their natural habitats.
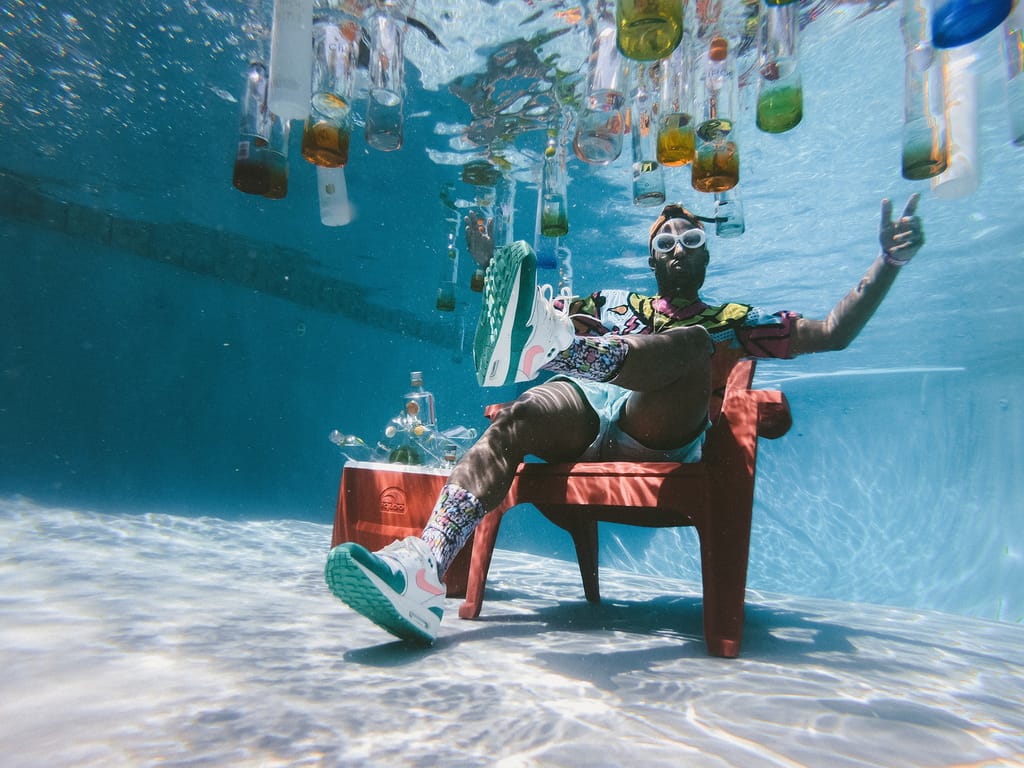
- Underwater Fashion Photography uses underwater landscapes to capture meaningful and moving images of subjects and products beneath the surface.
11 Underwater Photography Tips
Before you set out on your first or next underwater photography adventure, consider these helpful tips to ensure you capture the best shots.
1. Safety Always Comes First
Safety and technical skills are your first priority for underwater photography. Consider taking a diving (SCUBA) course to learn how to safely be under the water for longer periods of time and how to inspect the equipment before every use. Familiarize yourself with scuba diving techniques, buoyancy control, and safety procedures and remember to always have a diving buddy with you.
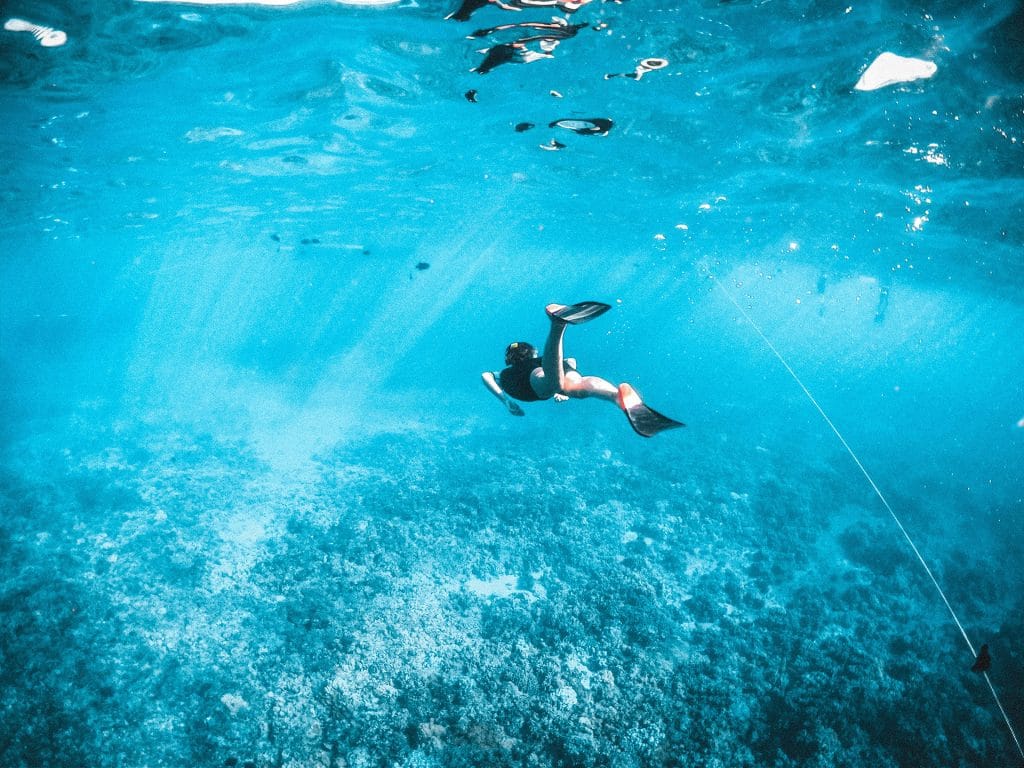
Practice swimming and taking photos while snorkeling on the surface of the water to ensure you feel confident before you take the next step of your diving certification.
Start small with shallow bodies of water like pools, lakes, or ponds that are more predictable than the ocean or open water. Once you feel confident, consider taking your first ocean dive with a certified guide!
2. Get the Right Equipment
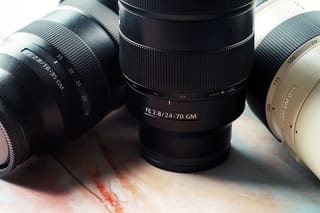
Your next step is finding the best gear for underwater photography. You have plenty of choices here, including gear that is already waterproof or cases that can allow the gear you already own to be taken into the water! You’ll need a camera, macro or wide-angle lens, external lighting, and other underwater photography accessories to get started.
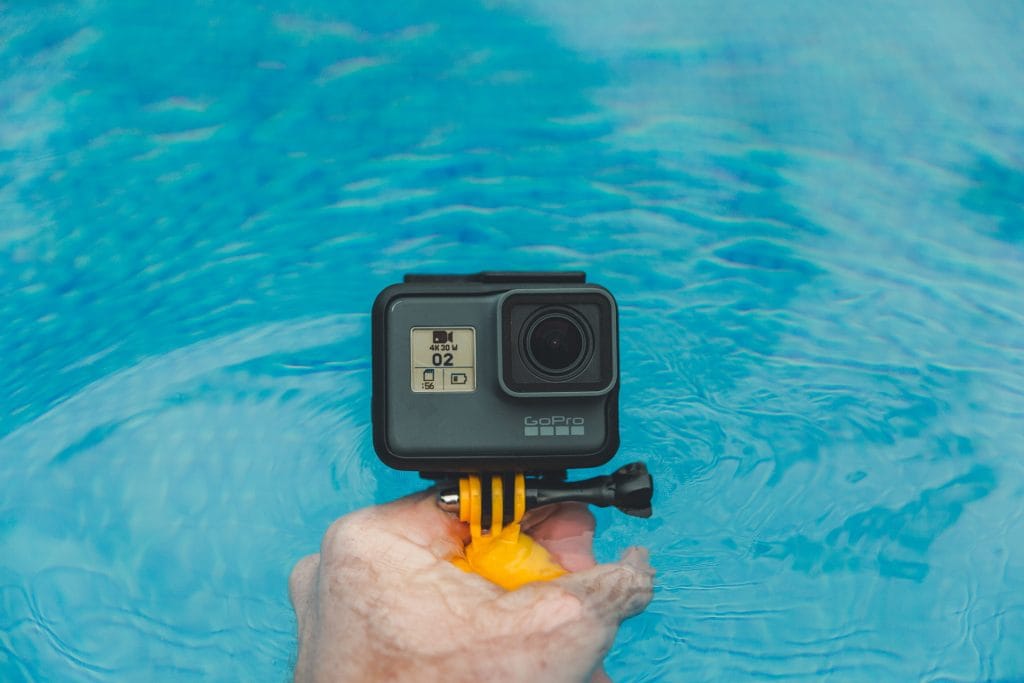
Underwater Cameras
When picking the best underwater camera, consider your budget, the type of camera you want (compact/point and shoot, mirrorless, DSLR, waterproof), performance in low-light situations, ability to shoot in RAW, underwater housing options available for it, video capabilities, and the lens lineup.
A great option for starting out in underwater photography is the lineup of GoPro cameras, which are waterproof, super compact, and take great underwater videos. GoPro cameras are affordable cameras created for any action scenario! Even the most serious underwater videographers, who have historically used interchangeable lens cameras for underwater photography, have found GoPros to be invaluable tools for B-Roll on their adventures.
Beyond GoPro competitors like the Sony RX0 series of action cameras, there are some other styles of waterproof digital cameras. The rugged waterproof “Tough” line of cameras from Olympus (now OM System) are notable for having conventional point-and-shoot form factors with built-in grips plus models featuring optical zoom.
When you’re ready to step-up to the many benefits of big sensor image quality and interchangeable lenses, then you’ll want to look into an underwater housing rig. There are several underwater housing makers but some of the best known manufacturers are Ikelite and Aquatica. Waterproof housings can vary significantly in features, depth rating, and price so do your research; also keep in mind the cost of your gear being protected inside.
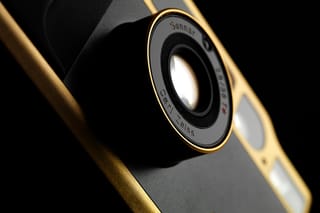
Underwater analog photography is substantially more challenging than digital, but some awe inspiring old school tools can still be found for those who thrive on film. While not always easy to find, reusable waterproof point-and-shoots like the Minolta’s Weathermatic or Canon’s SureShot A1 have always been a cooler way to roll at the pool than cheap disposable single-use underwater film cameras. For film photogs diving into deeper waters, our favorite has to be the Nikonos V camera from Nikon plus their classic 35mm f/2.5 lens. The iconic Nikonos line originated in the early 1960s as a system of cameras using interchangeable lenses designed specifically for underwater use. We also can’t help but marvel at the technological advancements in their Nikonos RS line from the early 1990s which was uniquely an underwater autofocus 35mm SLR system.
Lenses and Lens Ports
Macro and wide angle lenses are definitely the most popular options for underwater photography. With a macro lens you can capture amazing details and wide-angles are a natural choice to show the scale of the immersive environment.
The most versatile housings feature interchangeable lens ports. Being denser than air, water effectively adds an additional optical element between your lens and the subject. Different port shapes exist to help deal with the optical effects of shooting through water.
Flat lens ports are easier and cheaper to make. When underwater, the shape of a flat port shows distortion and magnification due to refraction from the water. This narrower field-of-view effect can be useful when paired with macro lenses, and flat ports are sometimes even called macro ports.
Flat ports are not a good choice for use with wide-angle lenses. For wide-angles underwater work you’ll want to go with a dome shaped lens port. The geometry of a dome shaped port counteracts water refraction to minimize distortion and prevent loss of angle-of-view. However, in addition to costing more, domed ports (sometimes called wide-angle ports) shift focus significantly; if your lens doesn’t focus very close (like around 12 inches) you may need to add a diopter filter too. It’s fairly common to find multiple compatible dome port sizes for a lens. Housing manufacturer’s will typically have recommendations for the best combinations for specific lenses and information on whether a diopter will be needed or not.
Additional Gear and Equipment
Other underwater photography accessories include lighting, stabilization handles, strobes, and filters to help correct color in the water. External lighting under water is especially important since natural light is hard to come by.
3. Understand Underwater Lighting
Lighting is vastly different when taking photos under water and without a good light source, your pictures will all have a blue cast to them. While you might be able to get by with ambient (natural) light just under the surface, the deeper you go, you’ll begin to lose light and color, which is filtered by the water.
If you plan to journey into deeper waters, invest in external lighting sources like flashes (also called strobes) to illuminate subjects and underwater landscapes. Without external lighting, your subjects will all be silhouettes. Strobes and LED lights are the best to use, because their color temperature mimics the appearance of daylight to give your photographs a natural appearance.
4. Learn Composition Techniques
Similar to other photography mediums like travel and street photography, composition plays a key role in helping you capture the best underwater photos. Whether you’re shooting macro or wide-angle, the following composition rules will help you frame your shots in a way that is eye-catching.
- The Rule of Thirds: allows you to frame your subject in a naturally pleasing way by dividing your image into thirds and placing your subject between intersecting lines.
- Negative Space: negative space is the part of your image that isn’t taken up by the subject. Negative space can be sky, walls, and in this case water! By filling the image with negative space, you allow the viewer’s eye to be drawn directly to your subject.
- Focus Point: refers to choosing the part of your subject you want in focus. You should always attempt to have the eyes of marine life in focus as viewers will naturally be drawn to the eyes of these creatures.
Get as close to your subject as you can (safely) to minimize the amount of water between you and your subject. But keep in mind that water can magnify the appearance of your subject, which can appear up to 25% closer and 30% larger than they are!
5. Be Mindful of Water Visibility
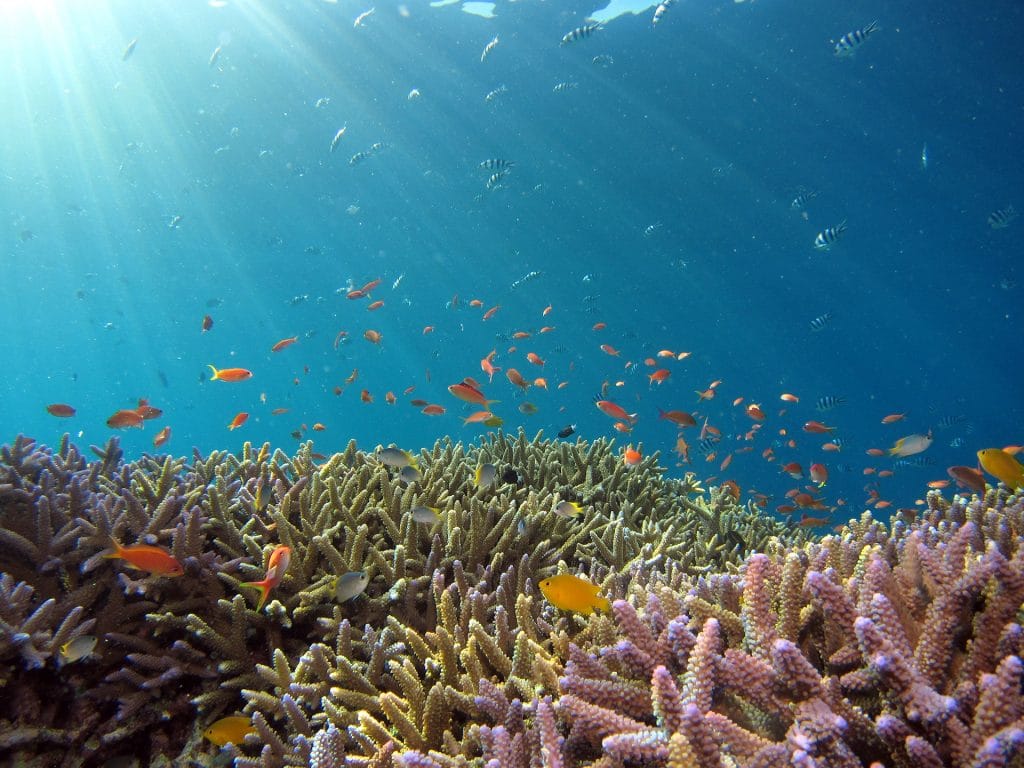
You’re not always going to be guaranteed a completely clear view into the water. Weather can affect water visibility of lakes and oceans. For beginners, you will want to stay within 20-30 feet of the surface with the sun behind you for the best lighting and visibility.
Pay attention to weather and specific times of day when the light will be best for underwater photography. The amount of light that enters from the surface depends on surface conditions, the weather, and the time of day. Generally, brightest conditions under water will occur on a sunny day with calm waters between 10am and 2pm.
6. Tinker with Camera Settings
Mastering your camera settings before you start photographing under water is key to being able to adjust things quickly along with changing conditions. Focus on adjusting settings like white balance, aperture, shutter speed, ISO, and practice with manual focus quickly and efficiently.
Experiment with settings like burst mode or subject tracking focus if your camera offers them. And, if you plan to shoot without flash, practice with your white balance settings and understand which colors become filtered out at what depths to compensate for changes in color.
7. Use Manual Mode or Aperture Priority
Whether you’re interested in becoming a professional photographer or are content with being a hobbyist, the best way to take your underwater photography to the next level is to shoot in manual or aperture priority settings. By mastering your manual settings on land, you’ll feel comfortable quickly adjusting things under water where conditions change quickly and marine life is unpredictable.
Shooting in manual or aperture priority allows you to learn how shutter speed, aperture, and ISO work together to create great photographs.
8. Study and Work with Marine Life
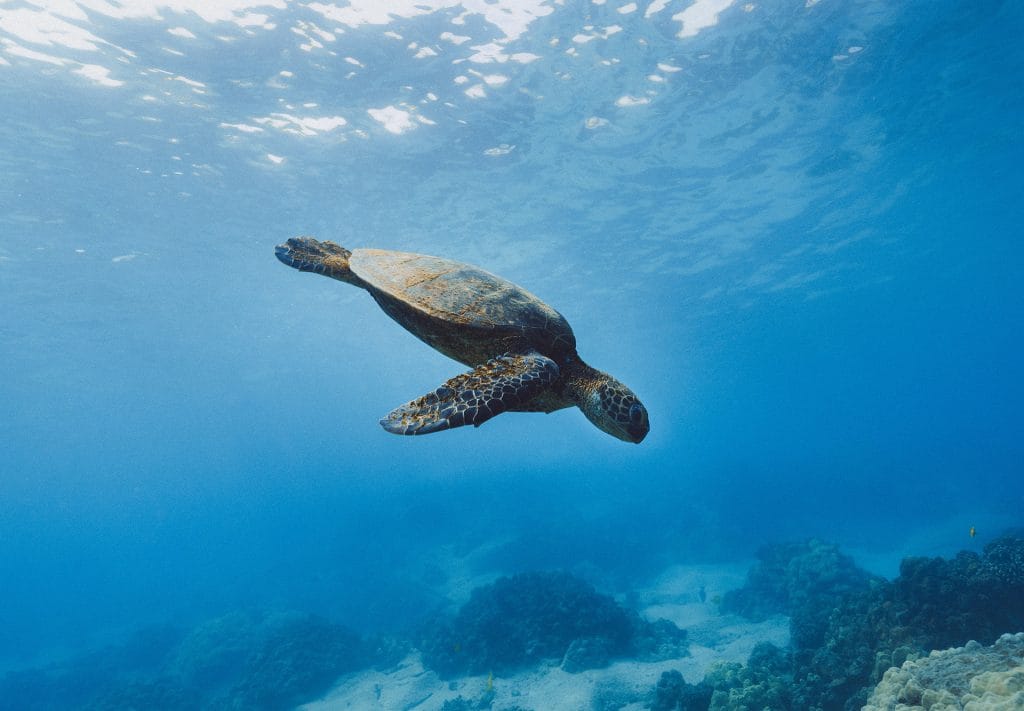
Understanding marine life patterns and behavior will help you to better capture this world beneath the surface. Research types of plants and animals in your local bodies of water to know when they’re most active and how you can best photograph them. While some curious fish will swim right up to you, other creatures like sea turtles, eels, and octopus are elusive and should be given more space.
Another important consideration when photographing marine animals or any type of wildlife is to be cognizant to not upset, overwhelm, or stress your subjects. Try to blend in with your surroundings, stay a safe distance away, and don’t overuse strobes or flashes close to animals that may be irritated by the flashing light.
Start with small fish you may find abundantly then gradually work up to photographing more bashful sea creatures.
9. Learn About Post-Production Editing
Learning about editing and other post-production techniques is important for any photographer, but especially for underwater photography where conditions often alter the color contrast and lighting of your photos. Editing a photo allows the photographer to adjust colors, contrast, saturation, cropping, color range, and much more.
Invest in professional editing software such as Lightroom or Photoshop to take your underwater photography to the next level.
10. Practice with Your Equipment
As mentioned above, practice with your equipment before you ever take it into the water. There are a lot of things happening while you’re under the water, so having a comfort level with your settings and gear that allows you to quickly adjust things on the fly is extremely important.
Once you feel comfortable both with your gear and changing settings, you can “get your feet wet” in shallow bodies of water like pools and ponds before venturing to areas that take more technical understanding and safety precautions.
11. Push Yourself by Experimenting
A rule of thumb in any type of photography is to push yourself out of your comfort zone and experiment with different gear, compositions, settings, and experiences. Invest in a course with a reputable underwater photographer or consider free video tutorials online! By continuing to practice and hone both your photography and diving skills, you’ll find you’re able to excel in your underwater photography more quickly.
You can even combine your passion for travel with underwater photography by visiting places where you can photograph unique marine life and famous coral reefs like Hawaii, the Bahamas, Australia, Indonesia and more!
Embark on Your Journey as an Underwater Photographer
Underwater photography is a fascinating form of visual storytelling. With the right underwater photography gear, techniques, and a passion for marine life, you can capture breathtaking images that transport your audience to a place they might never visit in real life. Consider purchasing your gear from a reputable used dealer so you can save money on your camera, lenses, and accessories to save up for your first tropical diving trip!
Once you’ve purchased your gear, become diving certified, mastered your settings, and learned all about marine life, all that’s left to do is dive in!


