Some of the most compelling images of all time have been taken by sports photographers. Whether you’re a fan or not, it’s not hard to argue that triumph and defeat make for pretty solid subjects when you’re capturing the world.
Not all of us are out there photographing Muhammad Ali’s victorious taunting of Sonny Liston. Sometimes we just need to rush to our niece’s first softball game after work and be ready to capture the look on her face after she swings and makes contact. However, there is a fair amount of crossover in the technique and equipment, no matter the price of the ticket. We’ll talk a little about the equipment that may give you the upper hand, and we’ll talk a little about technique.
What is Sports Photography?
Sports photography encompasses taking pictures of any type of sport or sports event as well as athletes. It can be a form of photojournalism in some cases, or utilized for commercial purposes.
This photography can include capturing professional sporting events but also amateur or recreational events, too. There are many different images taken within this genre, including action shots, emotion shots, graphical shots, candid portraits, and athlete portraits.
14 Sports Photography Tips
Below, we go over our top tips to keep in mind when photographing sports.
1. Get a Fast Digital Camera
While we believe that shooting film is always going to be cool, going digital will be a safer bet in fast-paced sporting situations. You’ll want something that has a fast shutter speed in order to freeze the action of the scene, but first, let’s talk about continuous shooting.
Many modern DSLR or mirrorless cameras have a ‘continuous shooting’ feature. This function gives the ability to take numerous exposures in quick succession, allowing you to ‘Spray and pray,’ or in other words—hold the shutter release down, take as many photos as you can and hope that you got the magic shot at that precise instant. This is incredibly handy when shooting sports because—well…sports happen quickly. That’s not to say that you don’t have perfect shutter timing, but if you’re even a half-second late, you might miss that game-winning hit.
A camera’s continuous shooting rate is measured in frames-per-second or “FPS” for short. Having a few extra frames per second can easily be the difference between having the ball in a frame or just out of frame during those decisive moments you’re documenting. A camera’s FPS isn’t everything but it’s one of the first specs an experienced sports photographer will be comparing between models.
Another thing to know is many cameras can’t continuously autofocus at their very fastest FPS. Also keep in mind a camera can only shoot its fastest FPS while it still has room in the memory “buffer”. The image buffer is where images are stored prior to being written to your storage card. Better cameras will generally have a larger buffer or faster card writing speeds to allow for longer bursts of continuous shooting at high FPS.
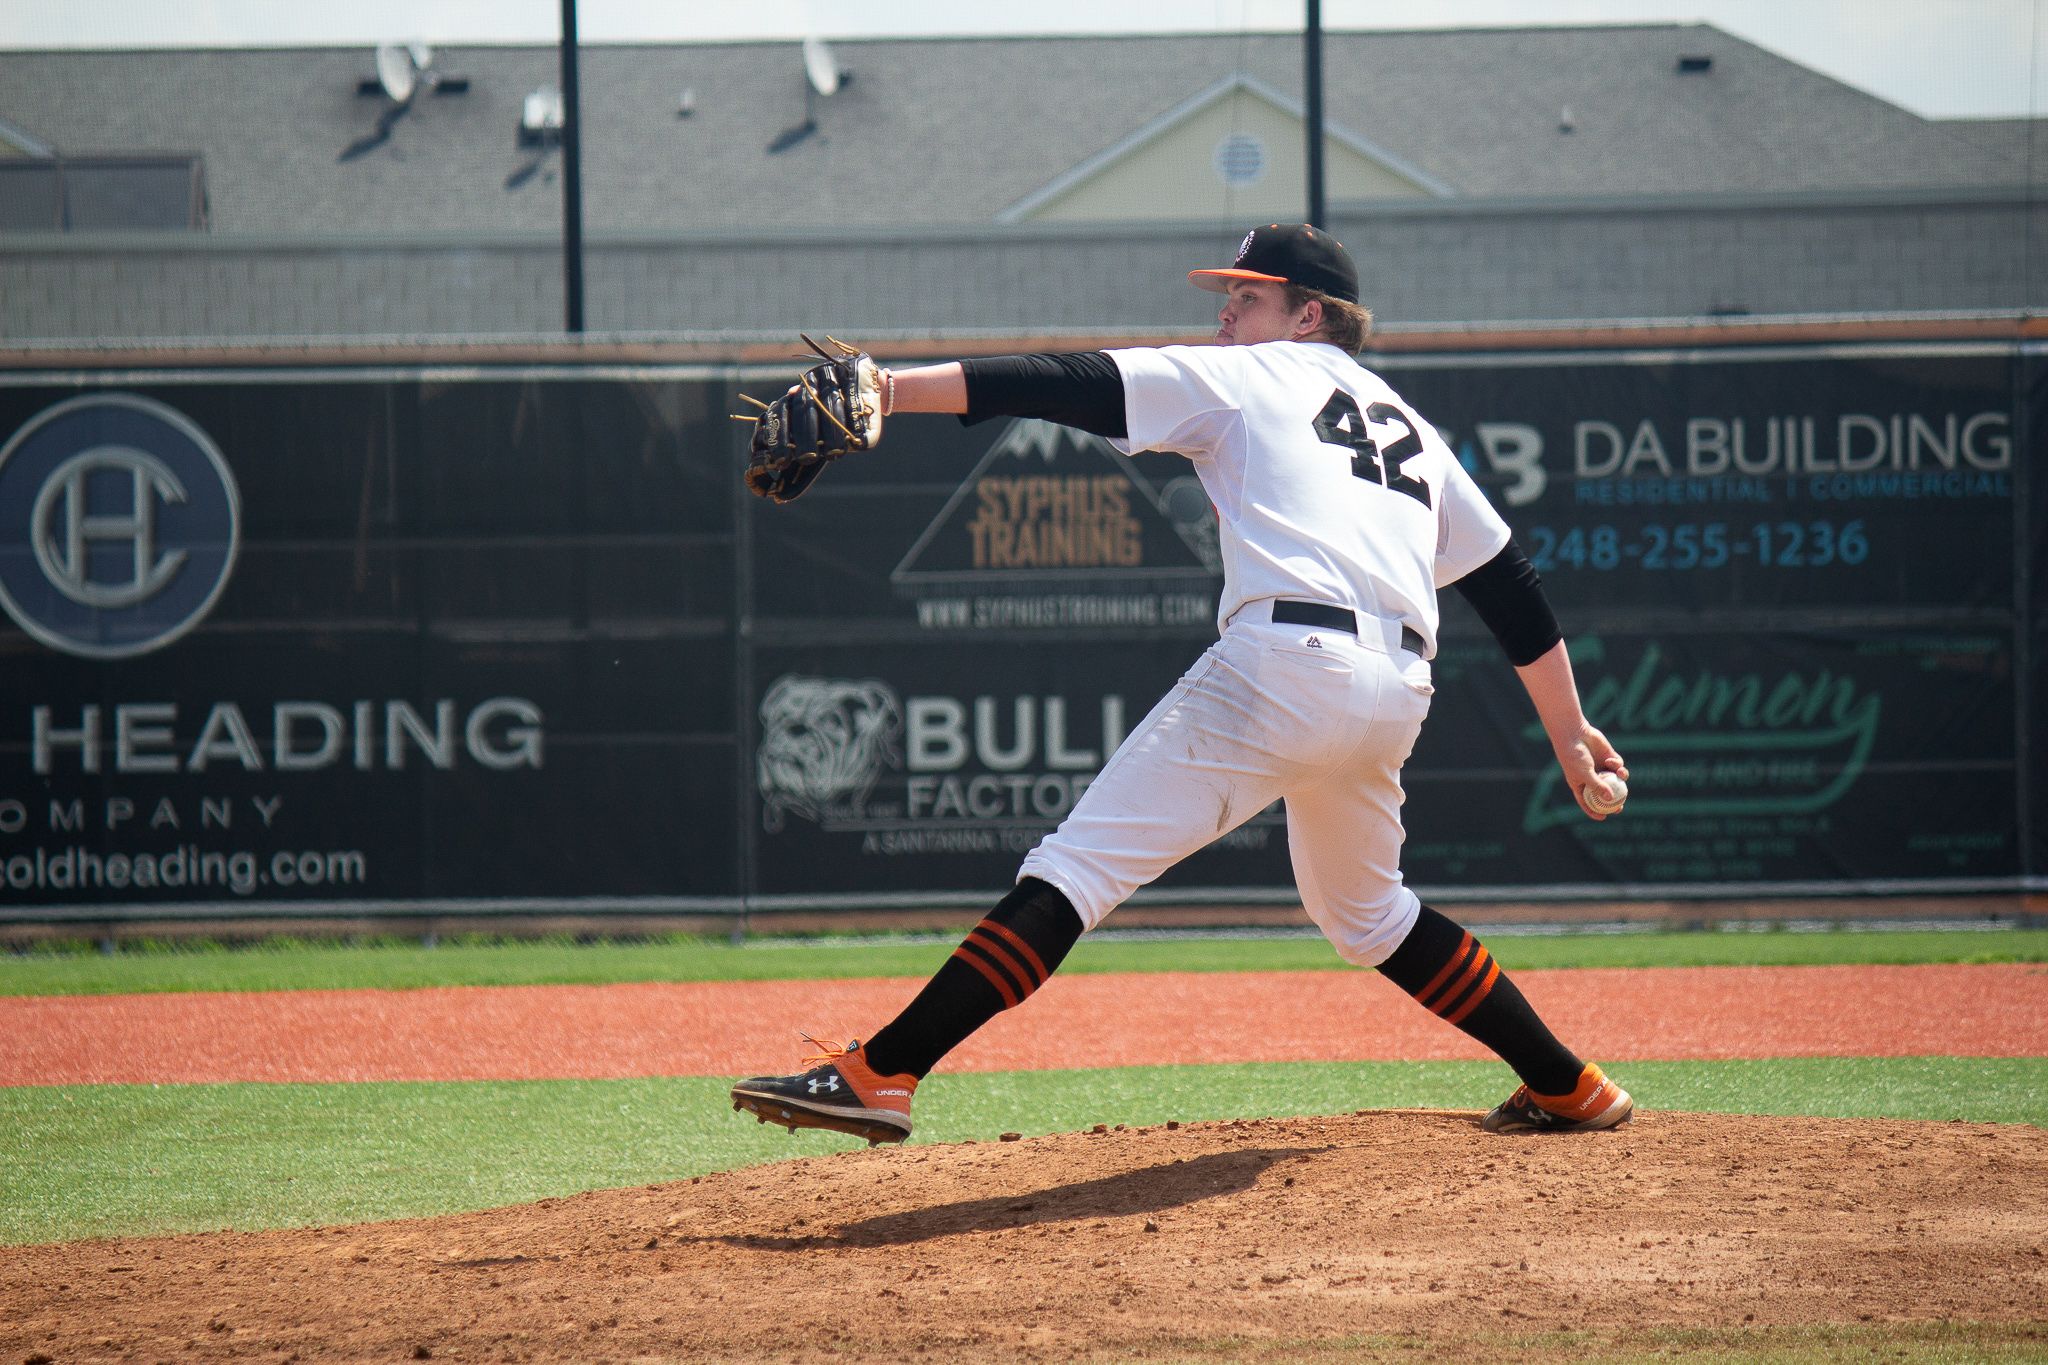
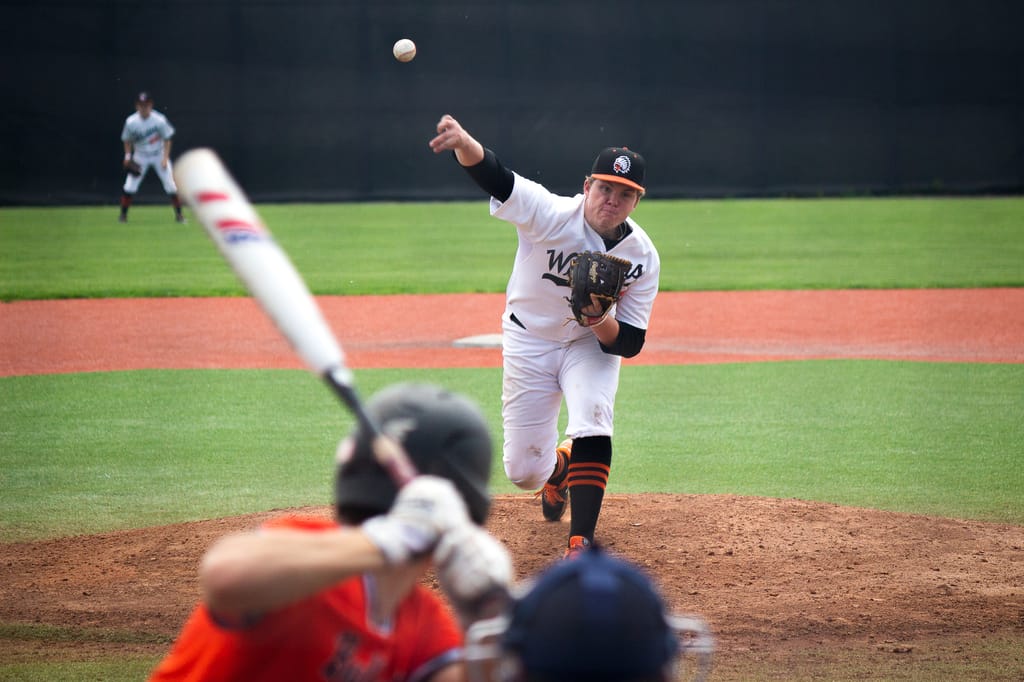
The other aspect of capturing the game-winning moment is fast shutter speed. If you’re a beginner, that means going off Full Auto mode and switching to either Sport, Shutter-Priority or Manual mode. A shutter speed of 1/500 or higher is necessary if you want to perfectly freeze time without any motion blur. Of course, there are some situations where you may want to convey some motion in your image. Don’t be afraid to mix it up and try different things!
2. Use Long Lenses and Big Apertures
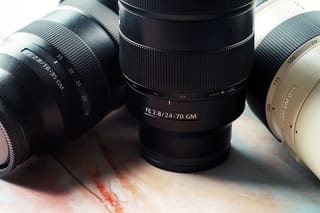
In order to be able to use that fast of a shutter speed, you’re going to need more light. You can either bump up your ISO setting at the risk of introducing digital noise and grain, or you can use a wider aperture lens. Due to a pesky little problem we call physics, it’s more difficult to have long telephoto lenses with ultrawide apertures. This difficulty unfortunately comes with a hefty weight and price increase above their smaller and darker counterparts. Thankfully we’ve got some used long telephoto lenses that fit the bill for much cheaper than new.
Some of the professional photographers you see on the sideline of pro sporting events will be working with something like a 400mm f/2.8 from Nikon or a 600mm f/4 from Canon. Often times, these photographers will have two camera bodies- one with a telephoto and one with a shorter lens for when the action comes closer to them. Most of us don’t have the budget for two matching camera bodies with lenses. For those of us just heading our company’s kickball game, there are better options.
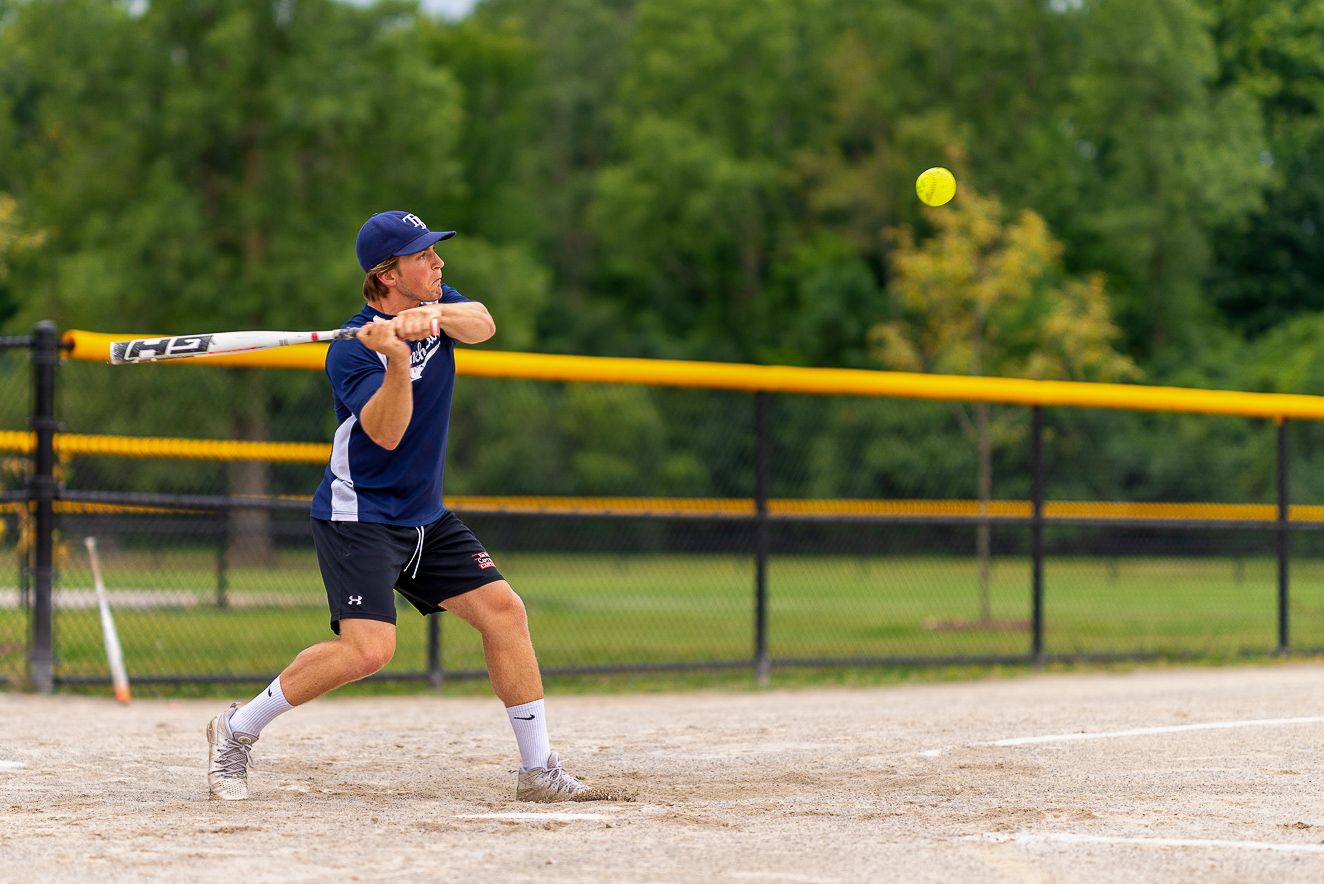
In any case, for some of the best sports photos, you’re going to want a telephoto lens to bring you closer to the action. Most of the popular camera brands offer 70-200mm f/2.8 zoom lenses. That’s a wonderful start! They are typically lightweight enough to operate handheld, many offer image stabilization, and in most cases, you can add a 1.4x or 2x Teleconverter if you need more reach. Don’t think you have to spend thousands of dollars on getting the best shots, though. The photo below was taken with a Canon T3i and a 55-250 f/4-5.6 lens. Pretty awesome, huh?
3. Stabilize the Camera with a Monopod
Now unless you’ve got arms like Dwayne ‘The Rock’ Johnson, you probably aren’t going to want to hold a heavy telephoto lens for multiple hours of a sports game. At the very least, your arms will start to get tired and shaky. Granted, a quick shutter speed will help to eliminate blur from fatigued and wobbly arms.
If you don’t look like Popeye and would like to rest your arms between shots, a monopod is an extremely handy way to stabilize your camera. It’s sort of like a tripod, but with only one leg. A monopod allows you to pivot and turn to follow the action but gives your arms a break. It also takes up only a fraction of the footprint that a tripod would, so you can be a little more low-key.
4. Understand What You’re Shooting
Taking a step away from the equipment, most photographers who have been in the game for a while will tell you that it’s not necessarily the gear that makes the photo, but how a photographer uses the equipment they’ve got. Simply reacting to what you see isn’t going to be fast enough. You’ve got to be able to anticipate things like where the ball is going to go, or when the boxer in red is going to throw a tremendous haymaker. Thinking one step ahead of your subject will allow you to visualize what’s coming, so you don’t have to always be catching up to what’s happening.
Again, don’t be afraid to try something new. Shooting an extra-wide view of a large venue can give a sense of scope that close-ups can’t provide. Consider taking photos of cheering fans instead of focusing on the direct action. Getting swept up in how the crowd is reacting can be just as exciting as seeing the game itself!
5. Respect Subjects & Event Guidelines
Good photographers instinctively try to get as close to the action as possible but respect boundaries set by events. Event staff usually have a lot going on and crowd control is on their mind; you don’t want to get red carded when you really need to be shooting. For ticketed events you may even need to secure a photopass, something typically arranged in advance. Reach out as early as you can to event organizers. You may even find there are rules like no flash, or no tripods allowed on the sidelines. Putting people at ease and navigating access hurdles are a key skills of a good documentarian. Showing up early to location scout and making a positive impression on staff ahead of time can help you during gametime .
6. Learn Camera Settings and the Best Shooting Mode
Many non-pro cameras have sports modes. Using a sports mode is the safe bet if you’re unsure about the myriad of options on your camera. Even if you’re planning to always use a sports mode, spend time learning your camera’s operation, options and capabilities until you feel as familiar as possible with the equipment. When it’s gametime you want to be free to focus on the game not settings.
Time spent learning the quirks of your specific camera will not only help you avoid surprises but also make it easier to hone your sports photography skills in general. Keep in mind some menus might use spartan language and instruction descriptions might not mention how some settings interact with others, so you still need to test out setting changes ahead of time to make sure they work as you intend.
It’s ok if you don’t understand all the jargon or significance of some settings, you’ll certainly learn new concepts, useful tricks, and know what options you have or perhaps need on your next camera.
7. Determine Acceptable Shutter Speeds for the Type Of Action
A shutter speed of 1/500th of a second might be perfect for capturing the pace of a little league soccer game, yet not so acceptable for the faster tempo of high school basketball, and even unusable for sharp images of motor sports. For sports photography shutter speed is the most important aspect of the exposure triangle. In all but the very sunniest of scenarios you’ll want to keep your telephoto set to its brightest aperture, but you must have acceptable shutter speeds figured out to optimize your ISO.
8. Optimize Your ISO Settings As Needed
You want to keep your ISO as low as possible while still staying inside the range of shutter speeds you find acceptable for the type of activity you’re photographing. As ISO is increased the amount of grain or visual noise increases, and image quality consequently decreases. Grain or visual noise is an especially important consideration if you need to crop or enlarge the image for printing.
Many digital cameras have an “Auto ISO” option where you define a range of acceptable ISOs and the camera will use the lowest it can based on the available light and your other exposure settings (aperture and shutter speed).
9. Try continuous autofocus and burst modes.
Start out set to continuous autofocus and learn how to set a “focus hold” button. The depth-of-focus is very shallow on teles and you’ll need to make a lot of focus adjustments quickly for sports action. If you try to use single focus mode for sports the way you might for portraits or landscapes you’ll find yourself missing a lot of shots.
Start out with your camera set to the highest continuous shooting rate you can. Many mirrorless cameras offer higher frame rates when using an “electronic shutter” setting, but be aware of a related phenomenon called “rolling shutter” where fast motion is distorted if the sensor’s inherent readout speed is relatively slow. One reason mechanical shutters are still built into most digital cameras is to prevent rolling shutter.
10. Autofocus vs Manual, Focus Zones, and EVFs vs optical finders.
This one is a little tough. Some old school people and videographers feel that manual focus is the way to go in order to get a more tactile, sure thing that you’re focusing exactly where you mean to. However, in quick sporting situations where you’ve got to track with fast action, it can be difficult to manually focus with precision. It’s recommended that if you’re a beginner, stick with the fast autofocus lenses.
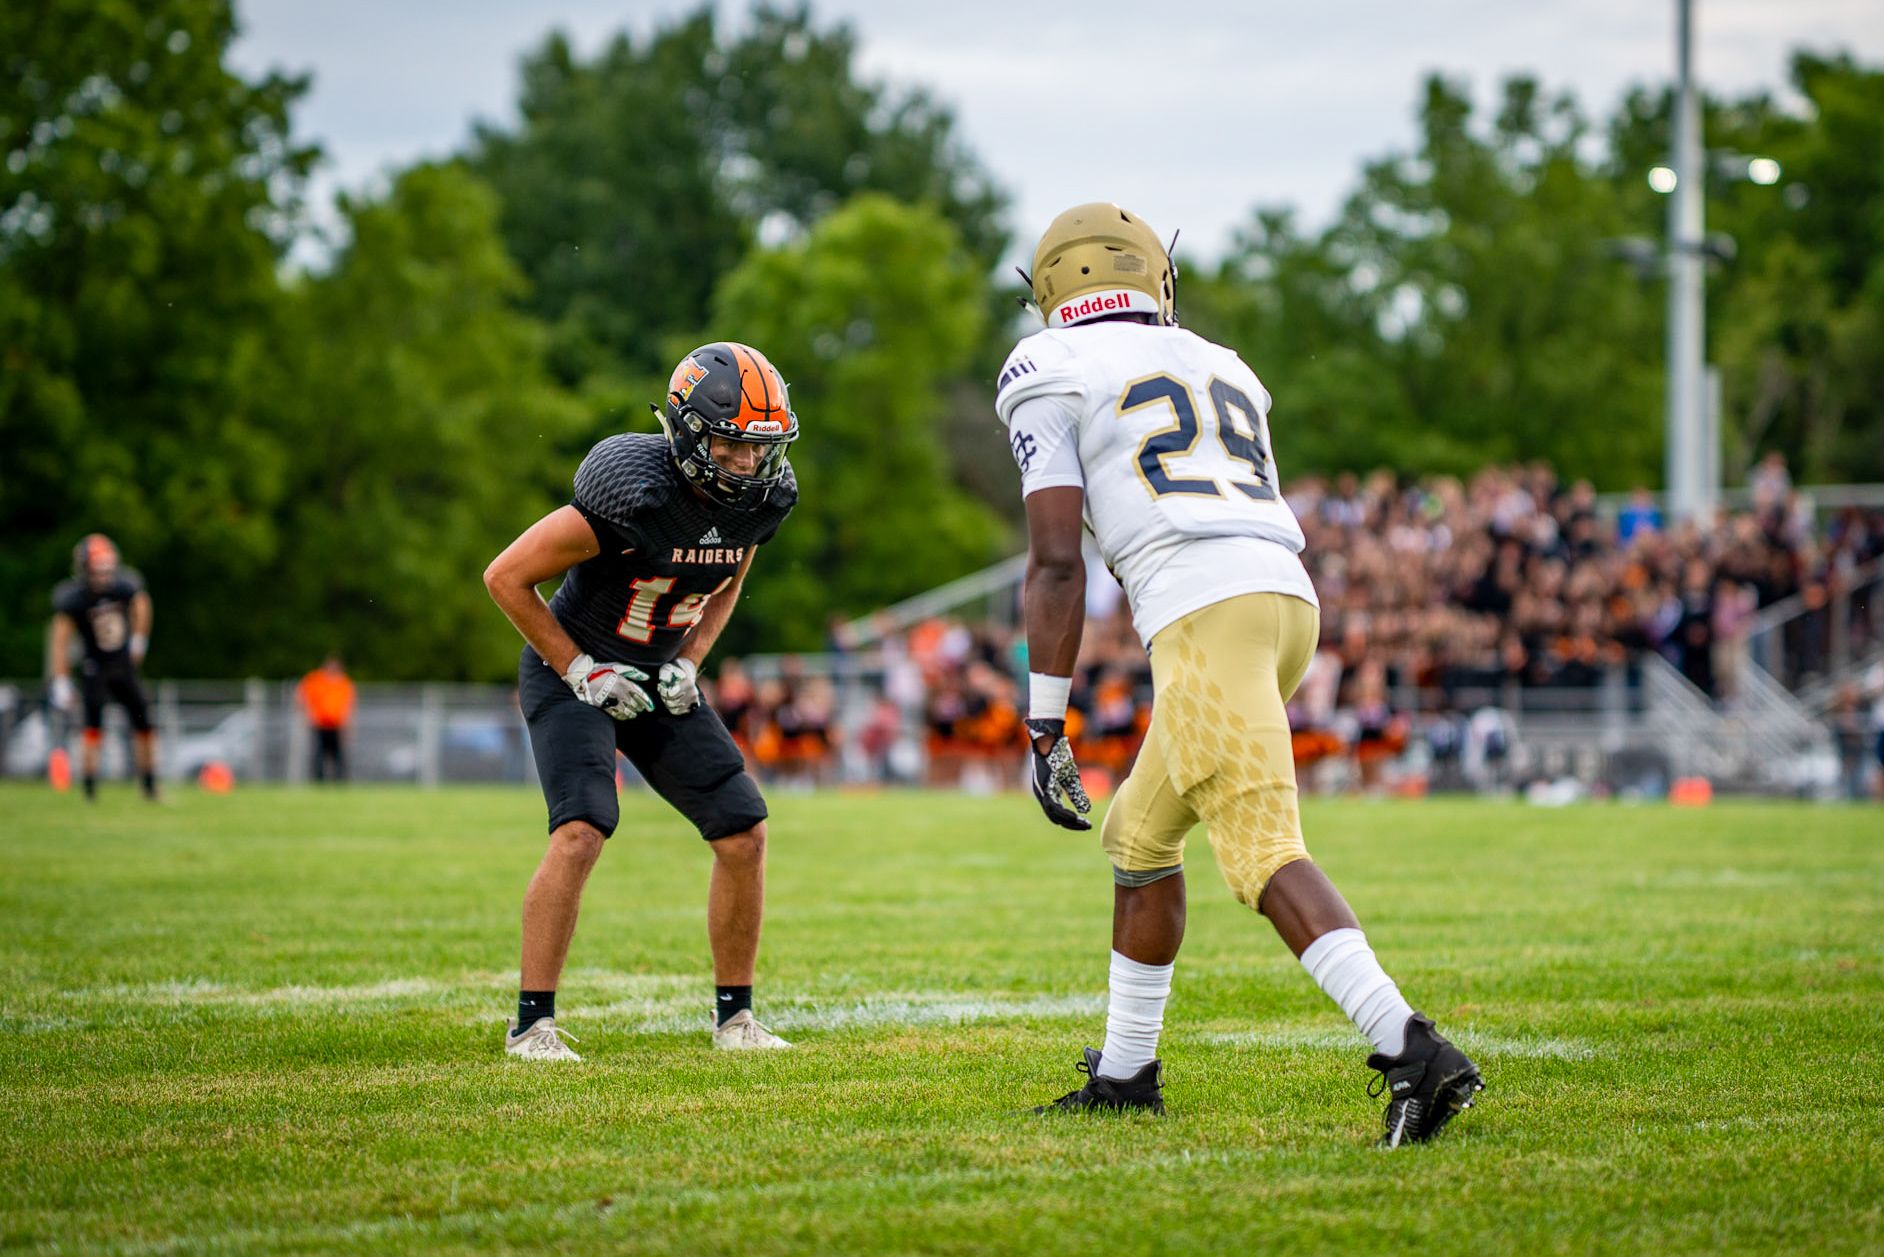
If you prefer the more classic feel of turning the focus ring yourself, you can certainly come away with some great stunning shots. If a shooter is confident in his or her focus abilities, it’s possible to capture images like this one below, taken on a manual-focus Zeiss Otus 85mm.
Gear selection will definitely affect your focusing experience too. Newer versions of lenses often have somewhat faster motors or redesigned optical assemblies that can be moved faster. If you have a high-end lens if may also have customizable “focus-hold” buttons you can configure in various ways and it may have a focus limit switch where you can wall off the closest focus distances to potentially save AF hunt time. But the camera side of things is where rapid innovation occurs.
Early autofocus cameras left much to be desired. However, successive generations of SLRs and then DSLRs improved greatly by using faster CPUs for good responsiveness and increasing the number of “Autofocus points” in the viewfinder while covering larger portions of the frame. Those AF points generally correspond to “Phase Detection” sensors that determine how in or out of focus a section of the light from the lens is. The sensitivity in low light of Phase Detection AF sensors designs have improved over the years plus Phase Detection has speed and accuracy advantages over “Contrast Detection” methods that non-SLR digital cameras were originally limited to.
Fortunately for mirrorless cameras, phase detection technology was eventually incorporated into special pixels in image sensors. Image sensor phase detection autofocus has recently allowed mirrorless cameras to catch or exceed DSLRs in focus speed and accuracy. Advanced SLRs have long had capabilities to detect moving subjects and offer “focus lock-on”. But the best mirrorless cameras are able to use live finder data for autofocus tracking based on object recognition.
With any modern AF system you will encounter a large variety of “focus zones” of shapes and sizes. Some may auto expand some may not. It’s hard to say what will work best for your shooting and framing so it’s best to do a bit of experimentation and test those options out
SLR users know it’s hard to beat an optical finder for resolution and responsiveness but reflex finders are certainly dimmer than the EVFs (Electronic ViewFinders) on Mirrorless cameras. Keep in mind the best SLRs use pentaprisms for a brighter image than a pentamirror arrangement and you may find certain finder focusing screens or eyepoint magnifications better than others. While they are bright, you’ll find there’s a lot of variance in terms of resolution and refresh rates between different mirrorless viewfinders. DSLRs are some of the most enjoyable cameras to use in daylight and mirrorless cameras can really shine at night.
11. Be Mindful of Lighting Conditions
Never forget to check your white balance settings. Artificial lighting varies in color much more than daylight. Auto white balance while convenient isn’t infallible. Raw images files are great because they capture more data and allow you more latitude for optimizations during post processing, but the tradeoff is bigger files that eat up more buffer space and slow down the camera.
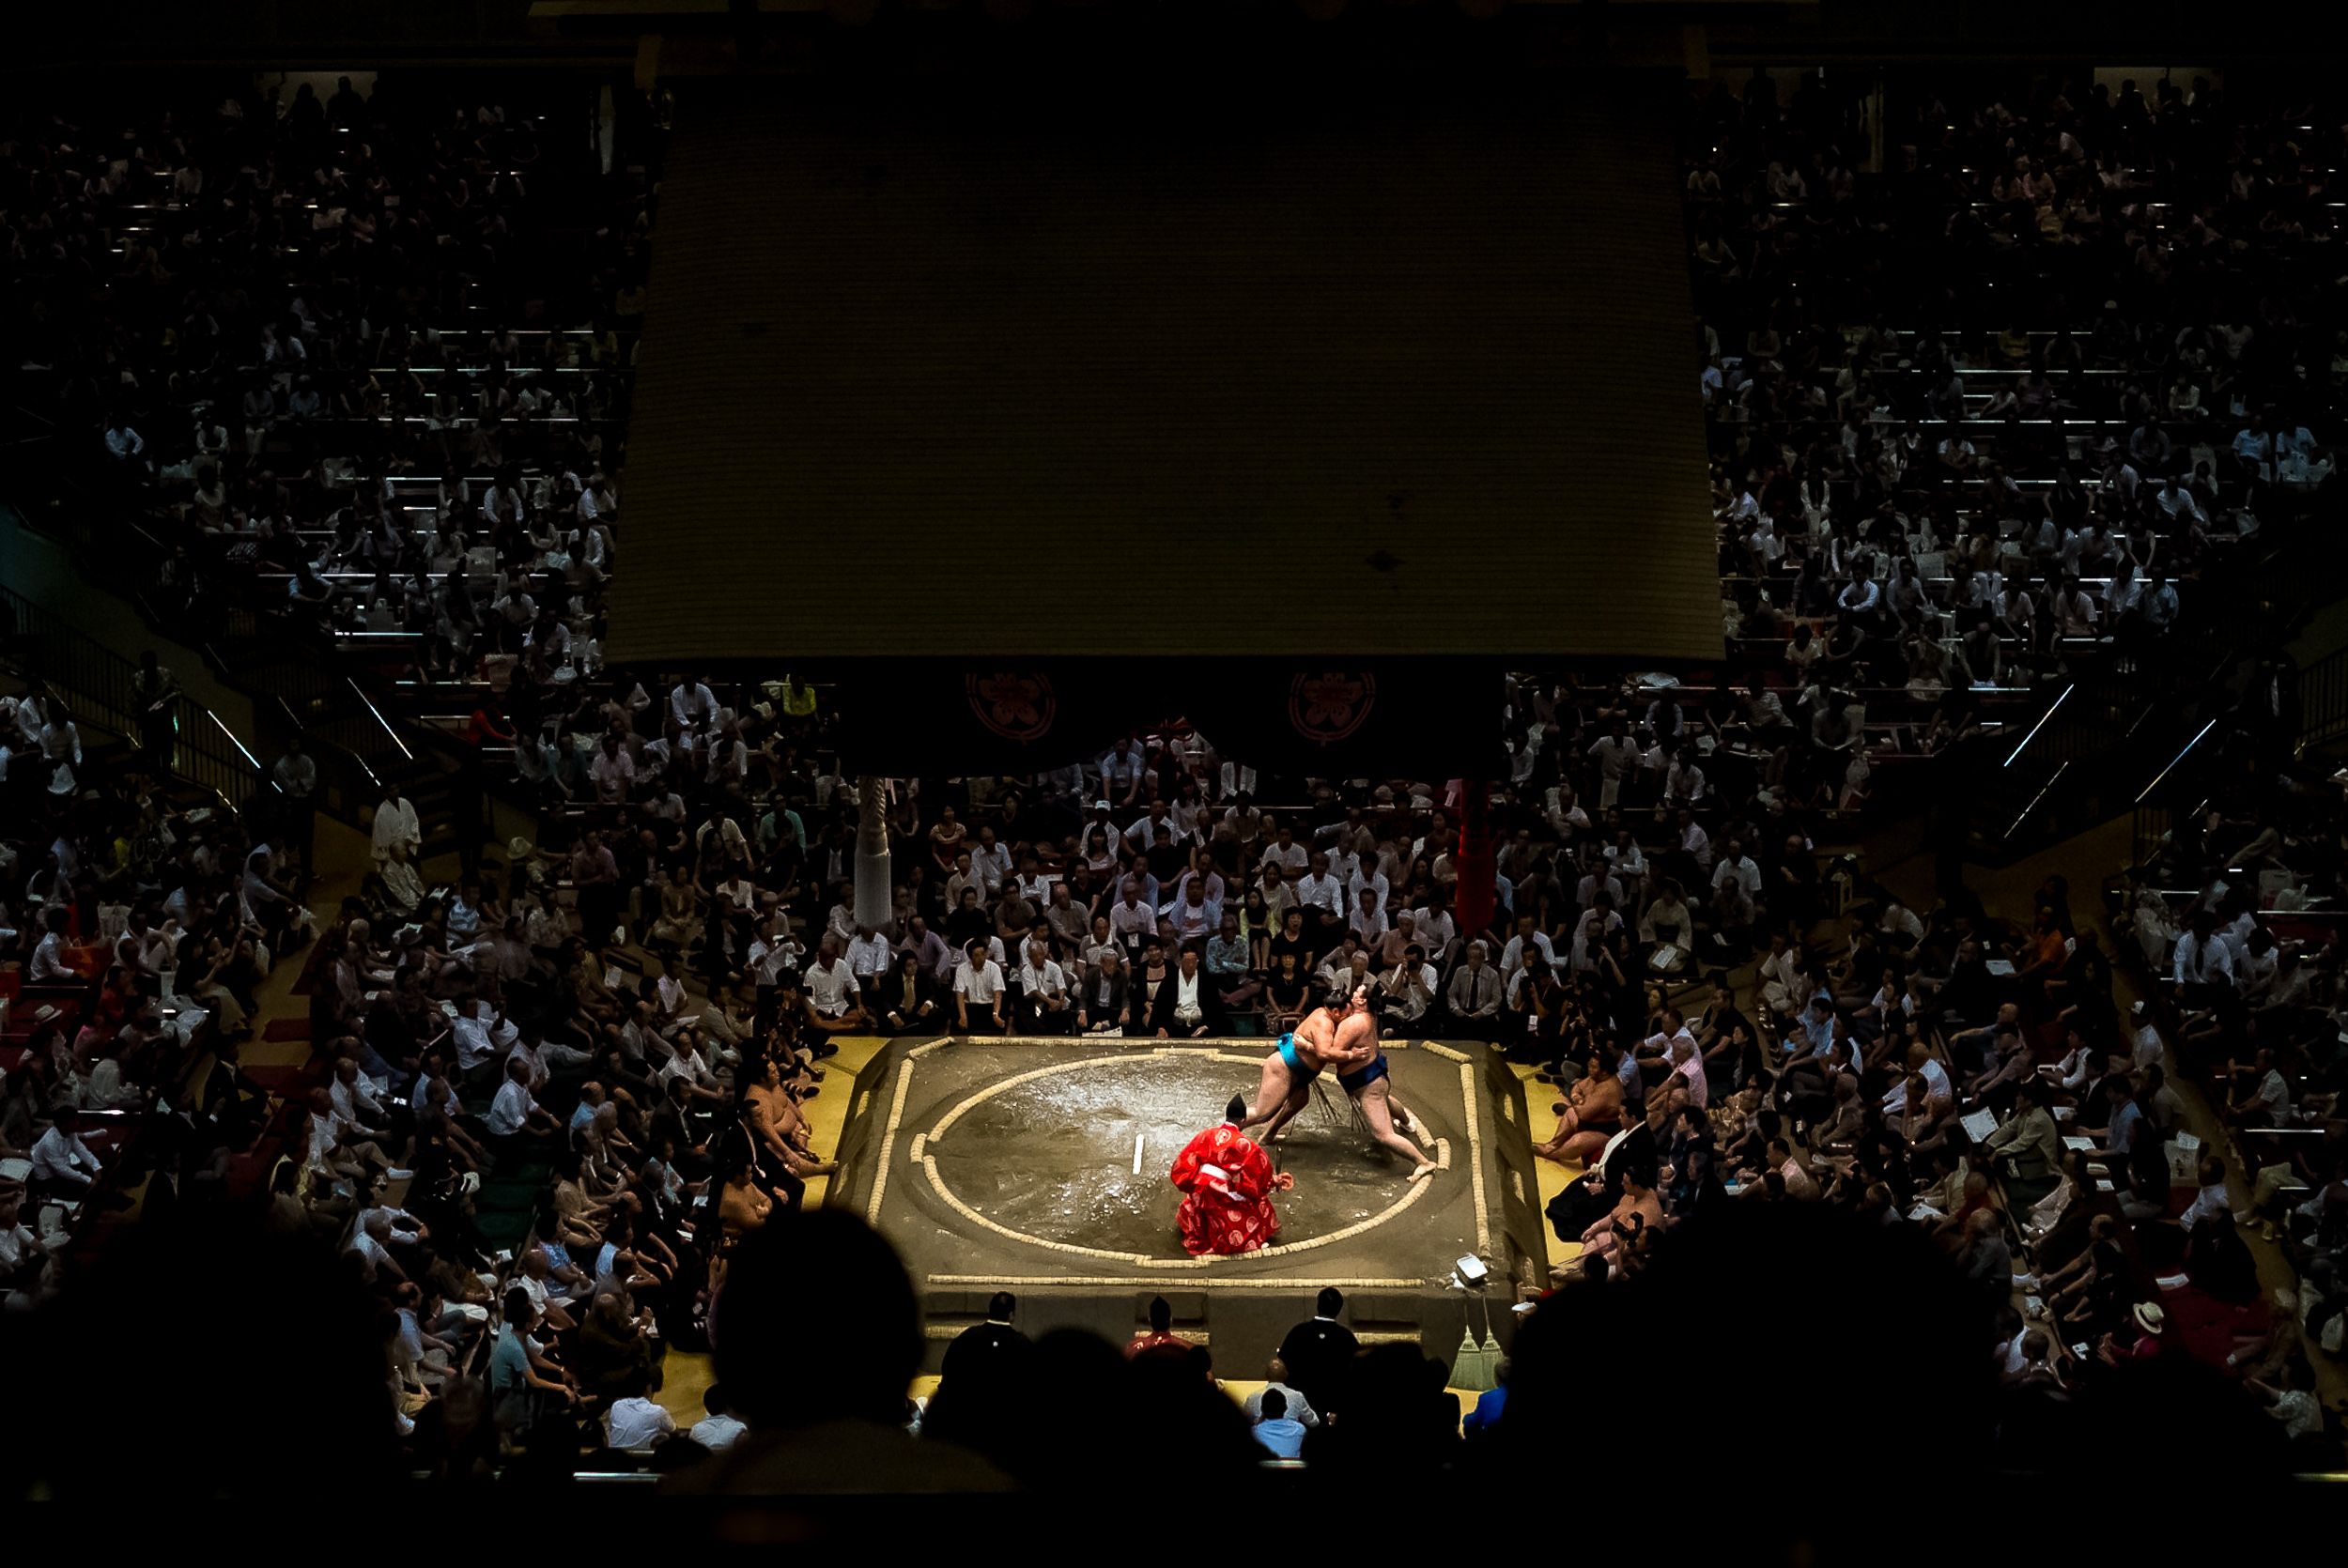
Direct sunlight and cloudy days have different qualities. Some playing surfaces reflect more light, some eat up light. Try to become accustomed to seeing the differences and abstract qualities of the environment you’re documenting and fresh options may appear. It’s not all about getting a textbook exposure. Light isn’t just a force illuminating or silhouetting your subject matter, light can be part of the story that helps one feel more of the moment, whether it’s sun in the eyes of a player or the grandstand night lights.
12. Play With Angle, Composition, and Subject Matter
Have fun with it and never stop thinking outside the frame. It’s fine to work on getting the best version you can of a particular type of shot but it’s hard to tell a full story with just one shot. Multiple shots that all look very similar usually don’t make the most interesting stories either. So challenge yourself to find a variety of different views that work visually. Don’t get tunnel vision (unless the tunnel is one to the locker room and then sure maybe that’s a cool angle).
13. Pay Attention From Start to Finish
You never know when a breakout play or defining moment will emerge. Edit after the event.
14. Clean Up Shots in Post-Processing
Maybe you had to use a higher ISO than you wanted or maybe the color balance is a bit off. Or maybe the image just isn’t quite as snappy as you want. These are issues that can be helped to some extent in post processing with some time and skill in Photoshop or other image editing and retouching applications. RAW files are the best for post processing, especially for color balance changes, pulling extra detail range out of shadows, and noise reduction.
Start Shooting Sports Photography with KEH
This quick primer should give you an idea of what to expect when going to take pictures at a sporting event, big or small. To learn more, check out our favorite telephoto lenses for sports photography, and shop our digital cameras.
Leave a comment below to let us know your favorite lenses or cameras that you love shooting sports with.
To read more about sports photography, check out our Q&A with Atlanta Braves Team Photographer, Kevin Liles
See what the KEH team has been up to lately at events like ATL Photo Night
Nervous about buying used camera equipment? Don’t be. Check out some sample images and see Does Camera Grade Affect Image Quality?
See something you like? Send our team a message to help you find what you need
All photos by KEH’s own Joe MacLean and Luca Eandi

